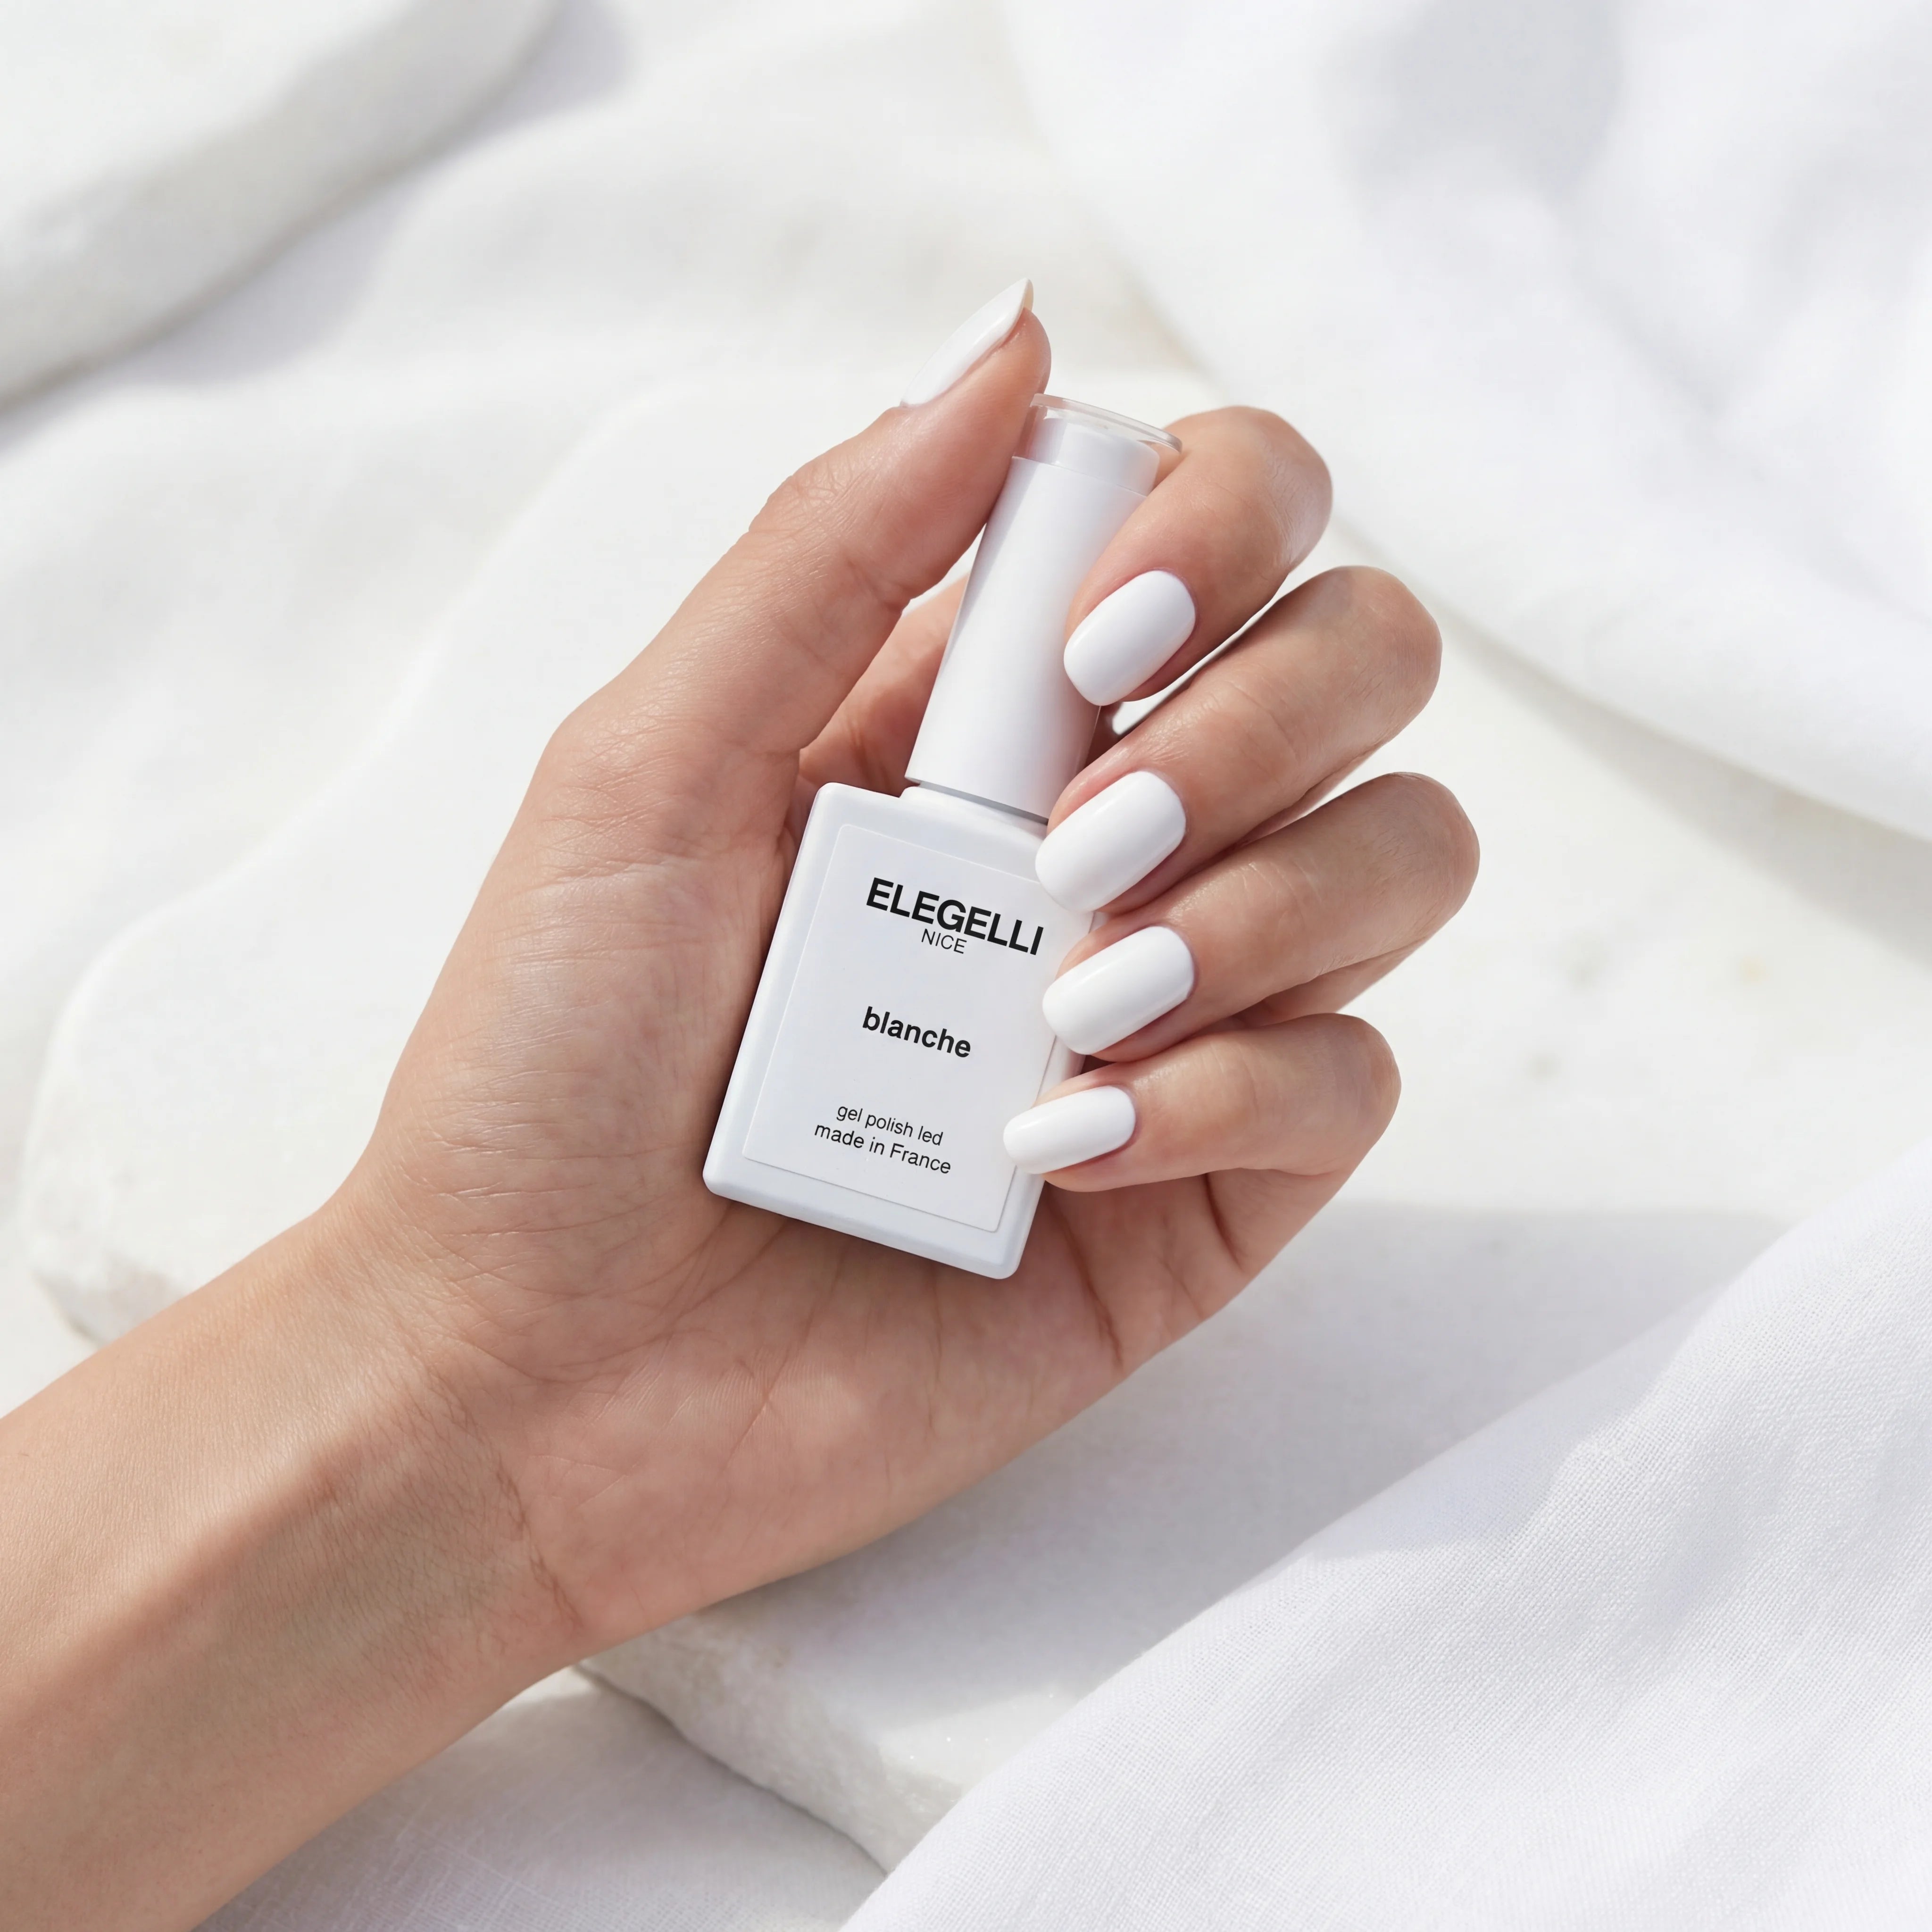
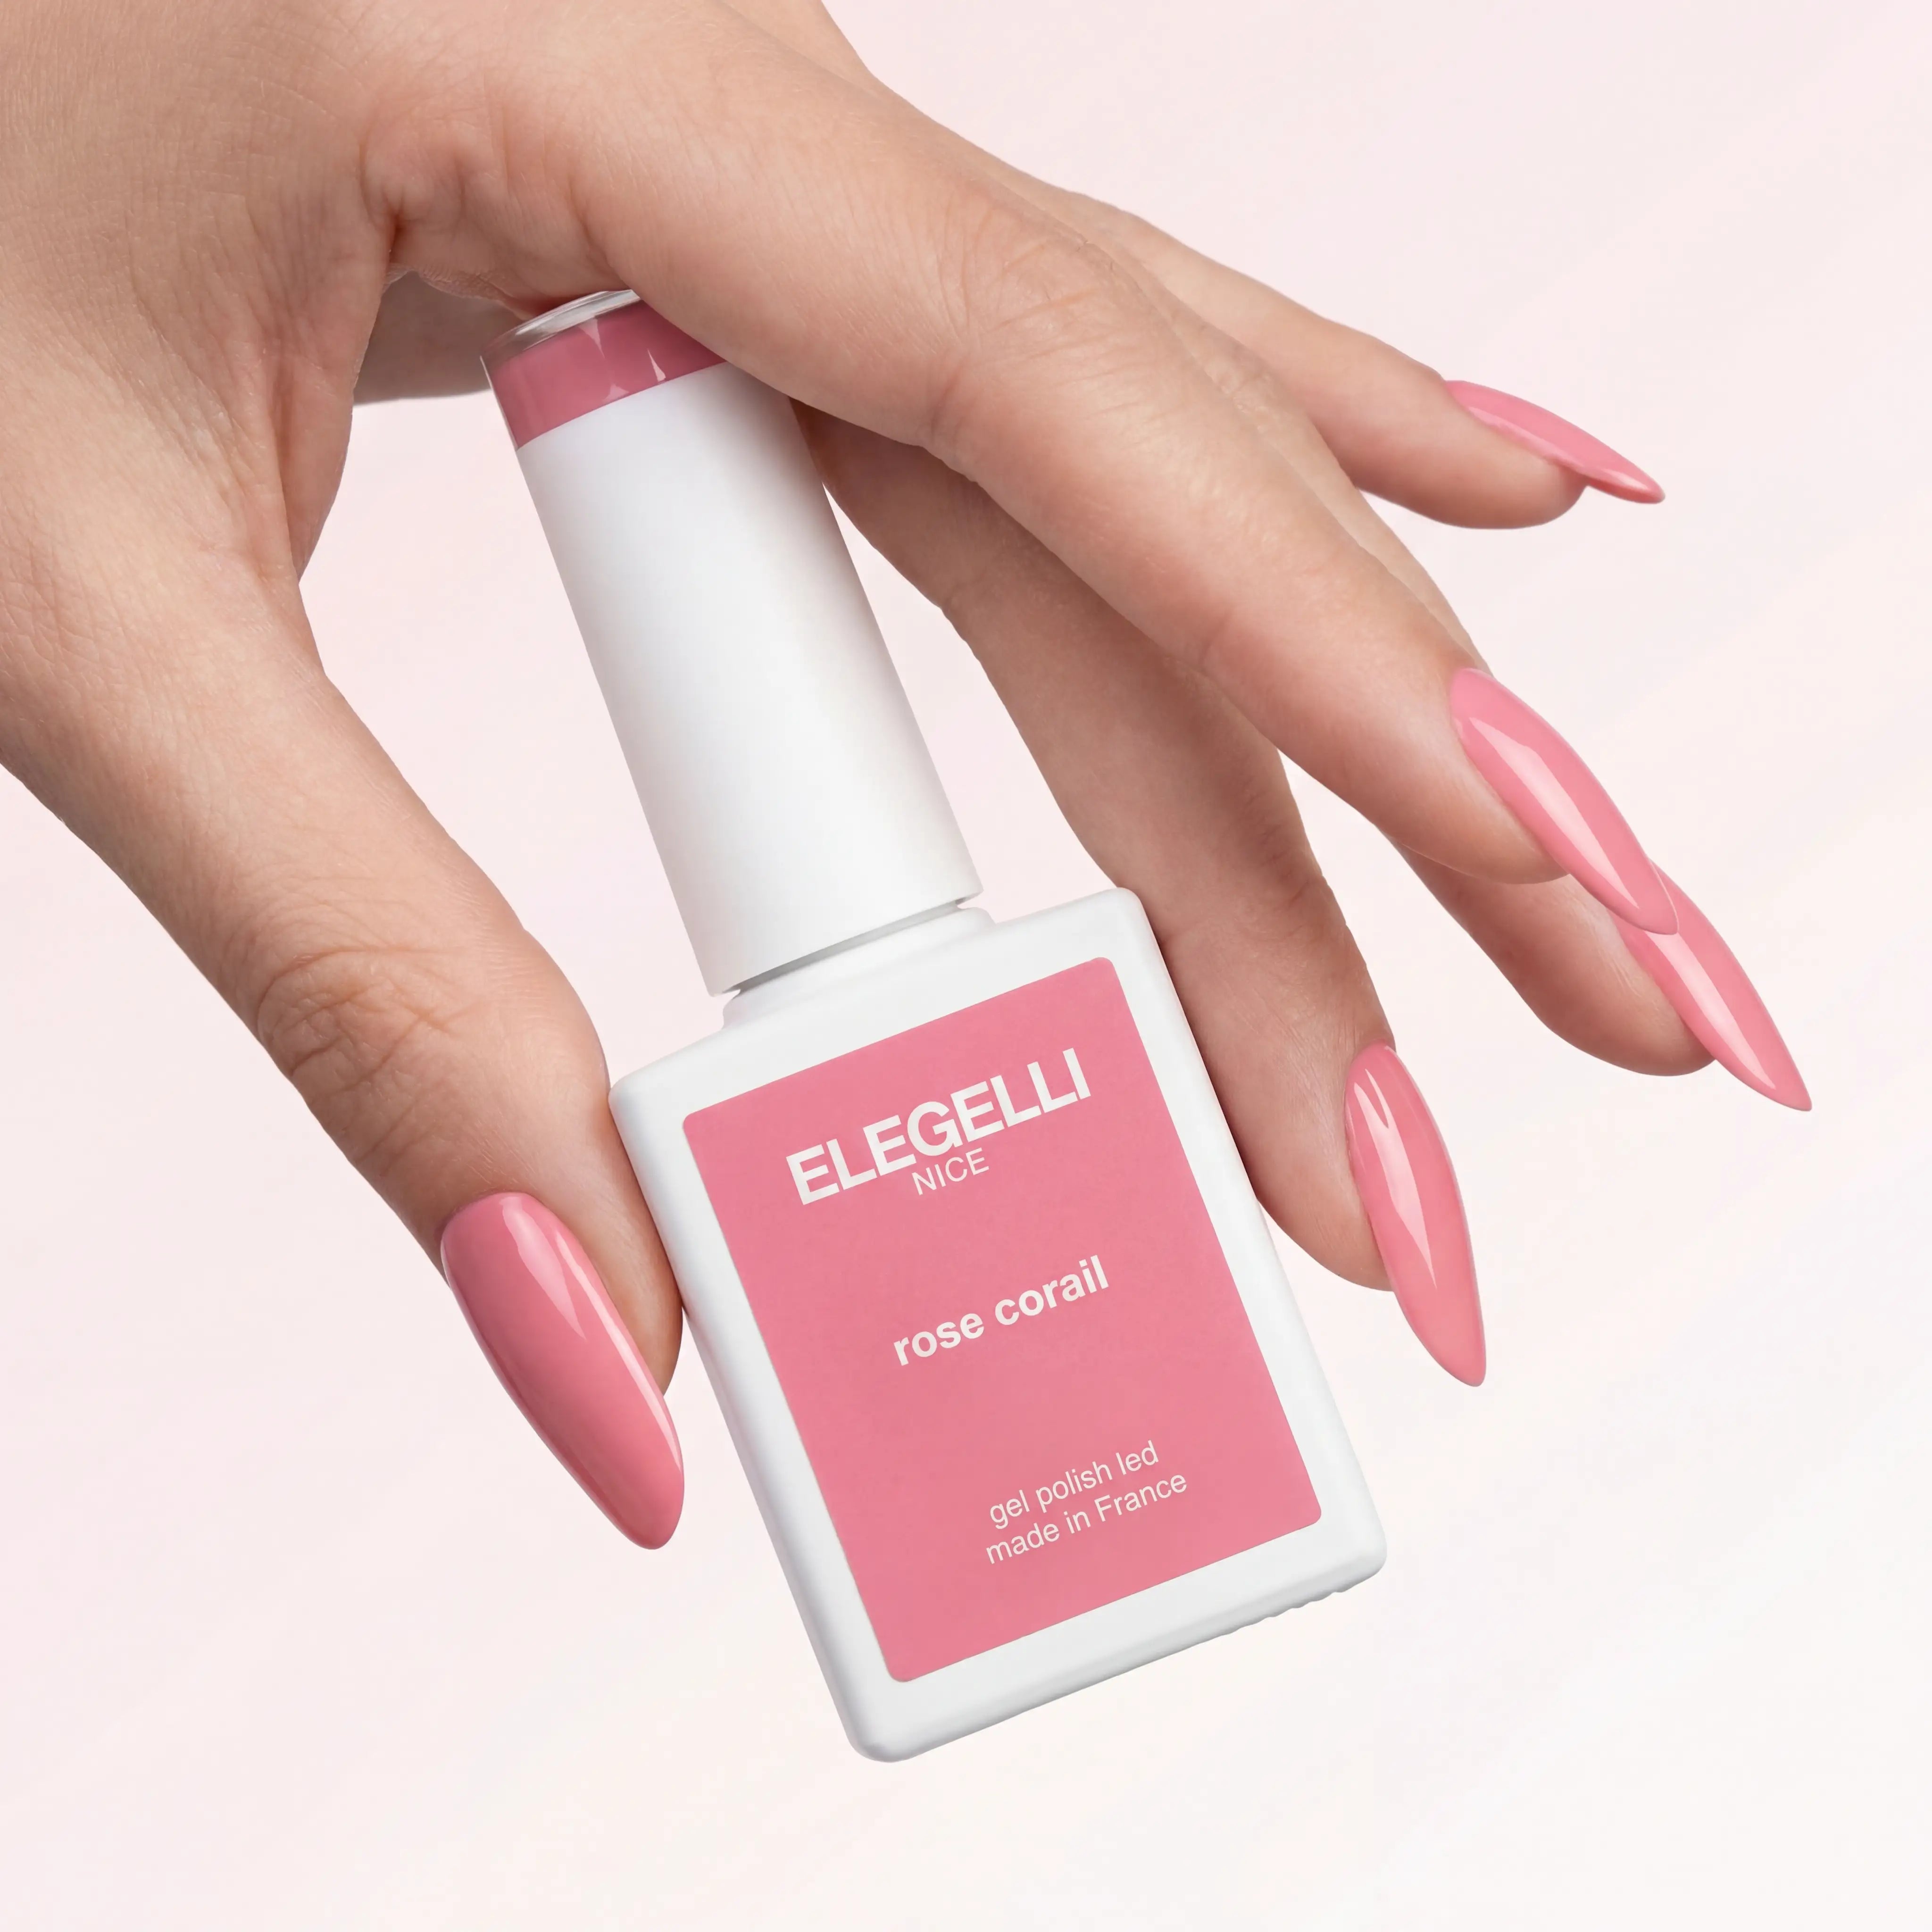
Why Choose Gel Polish?
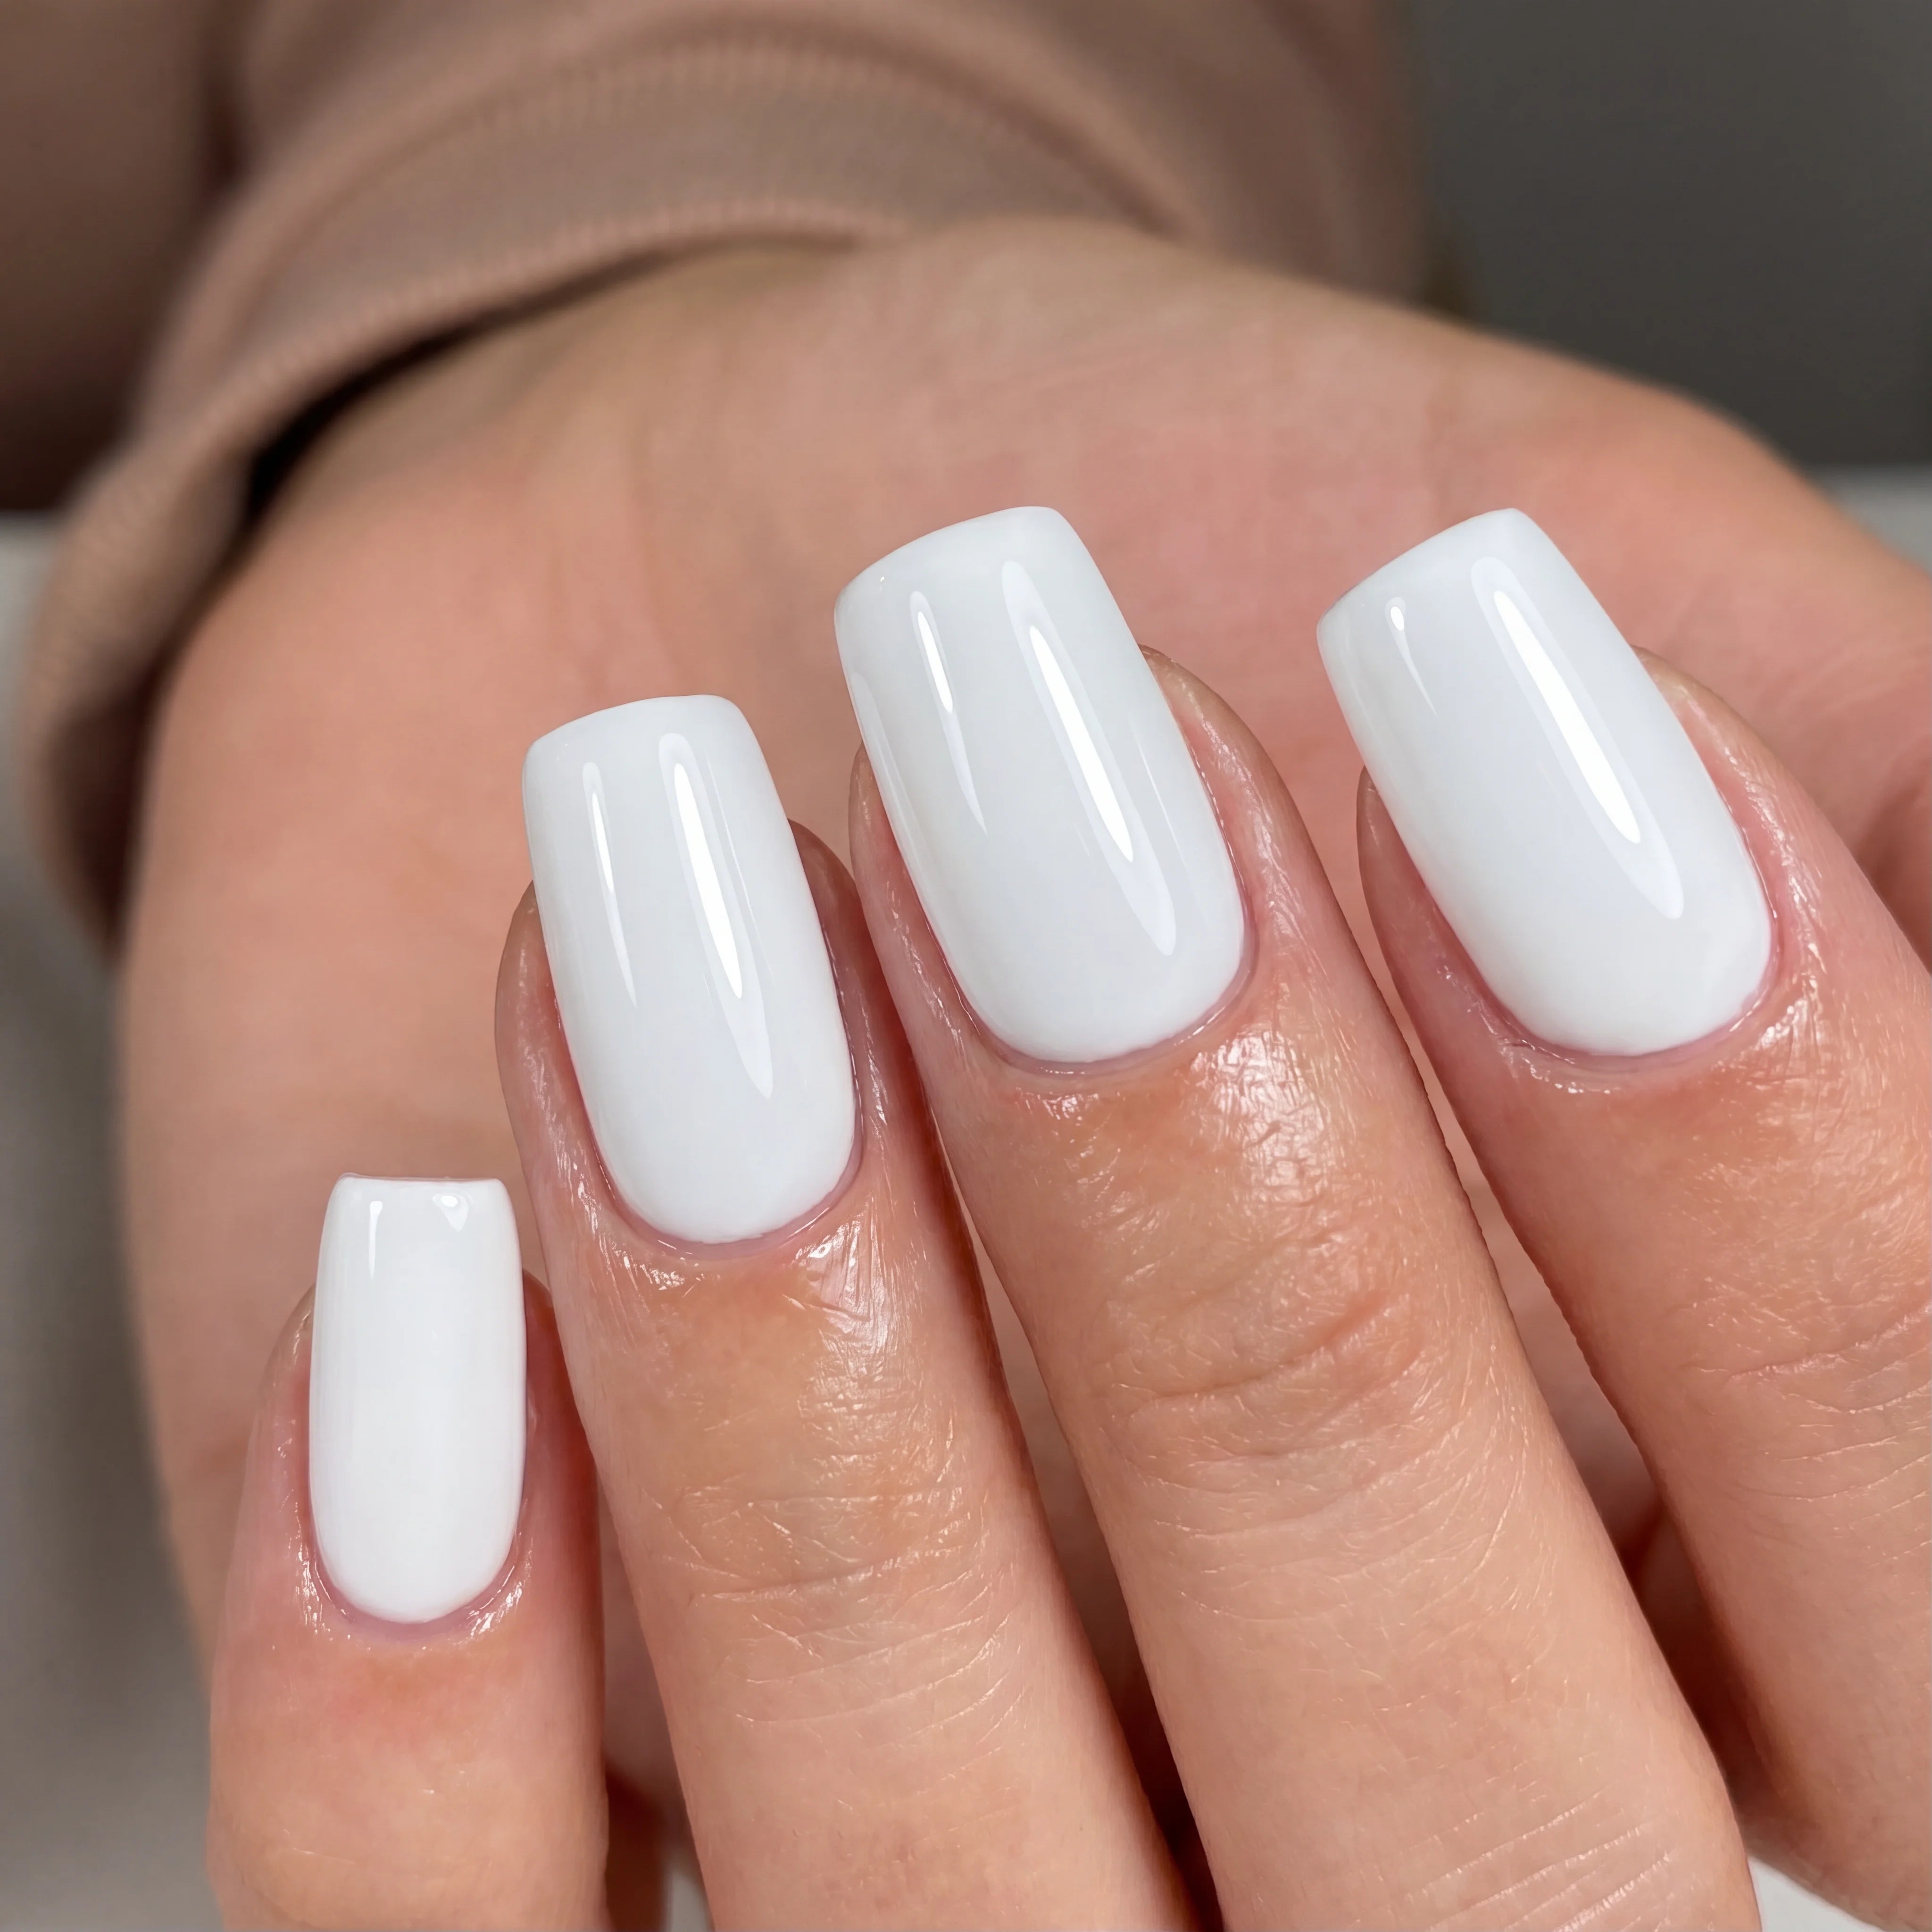
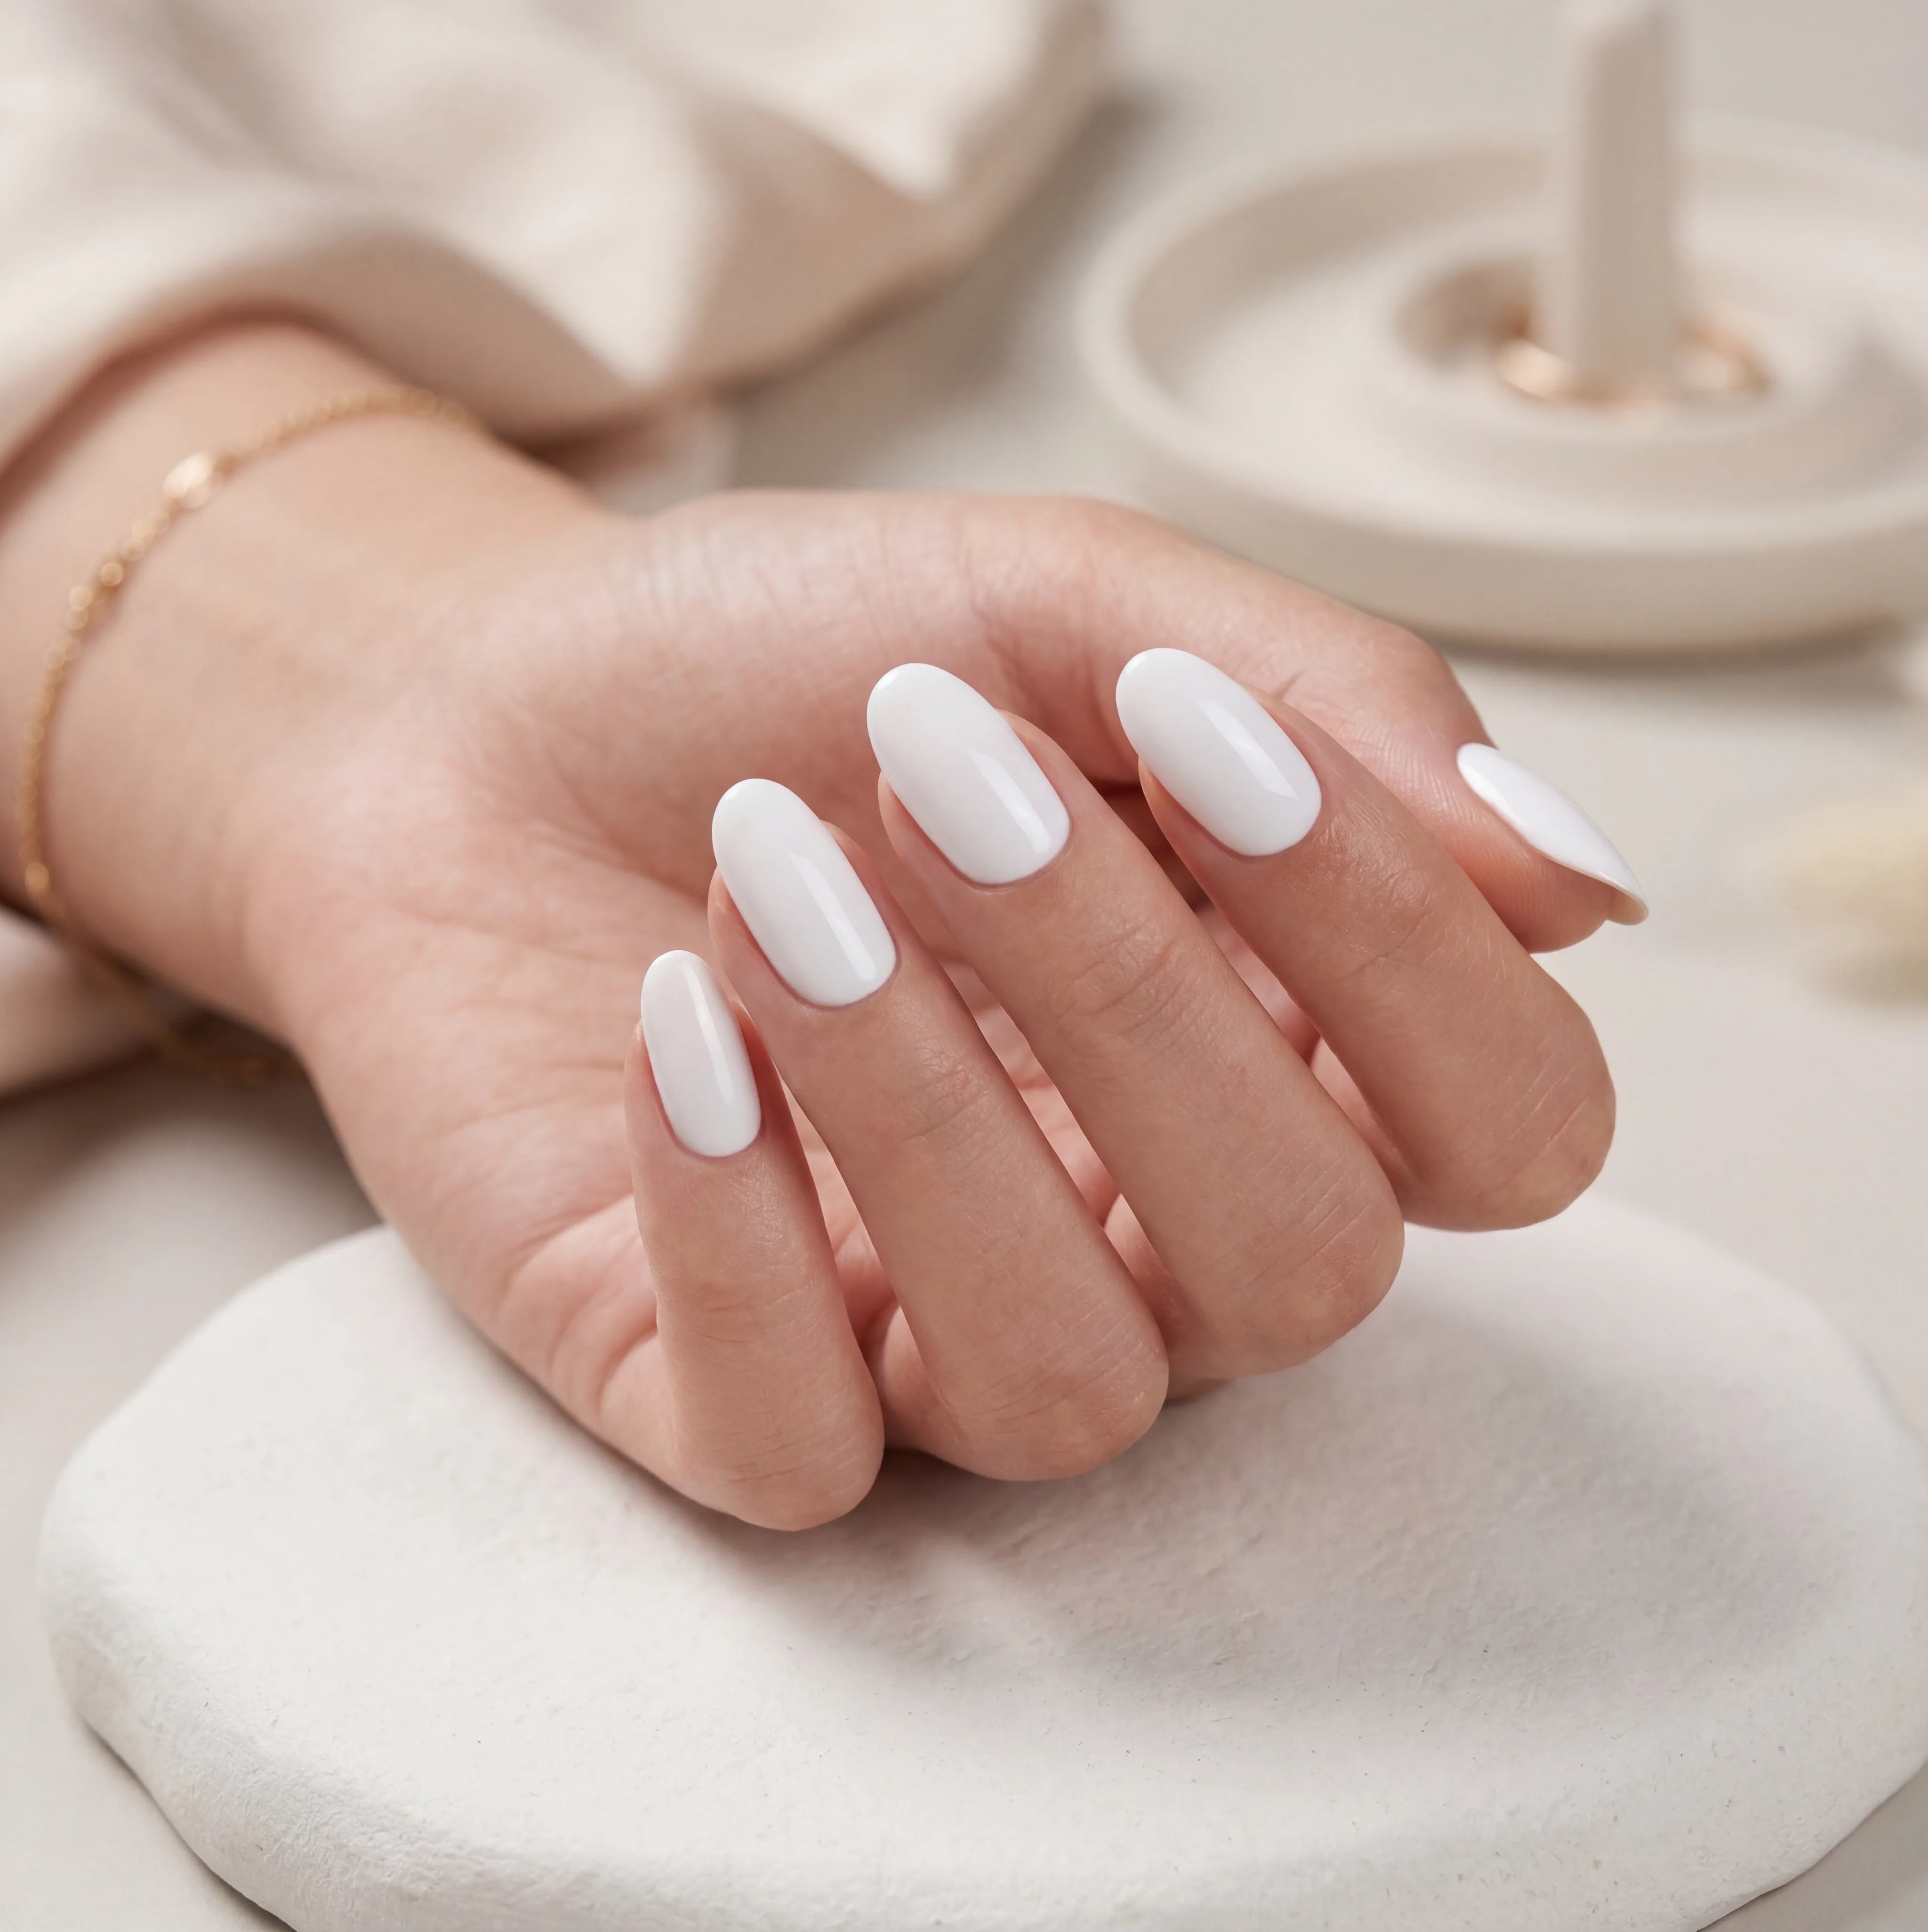
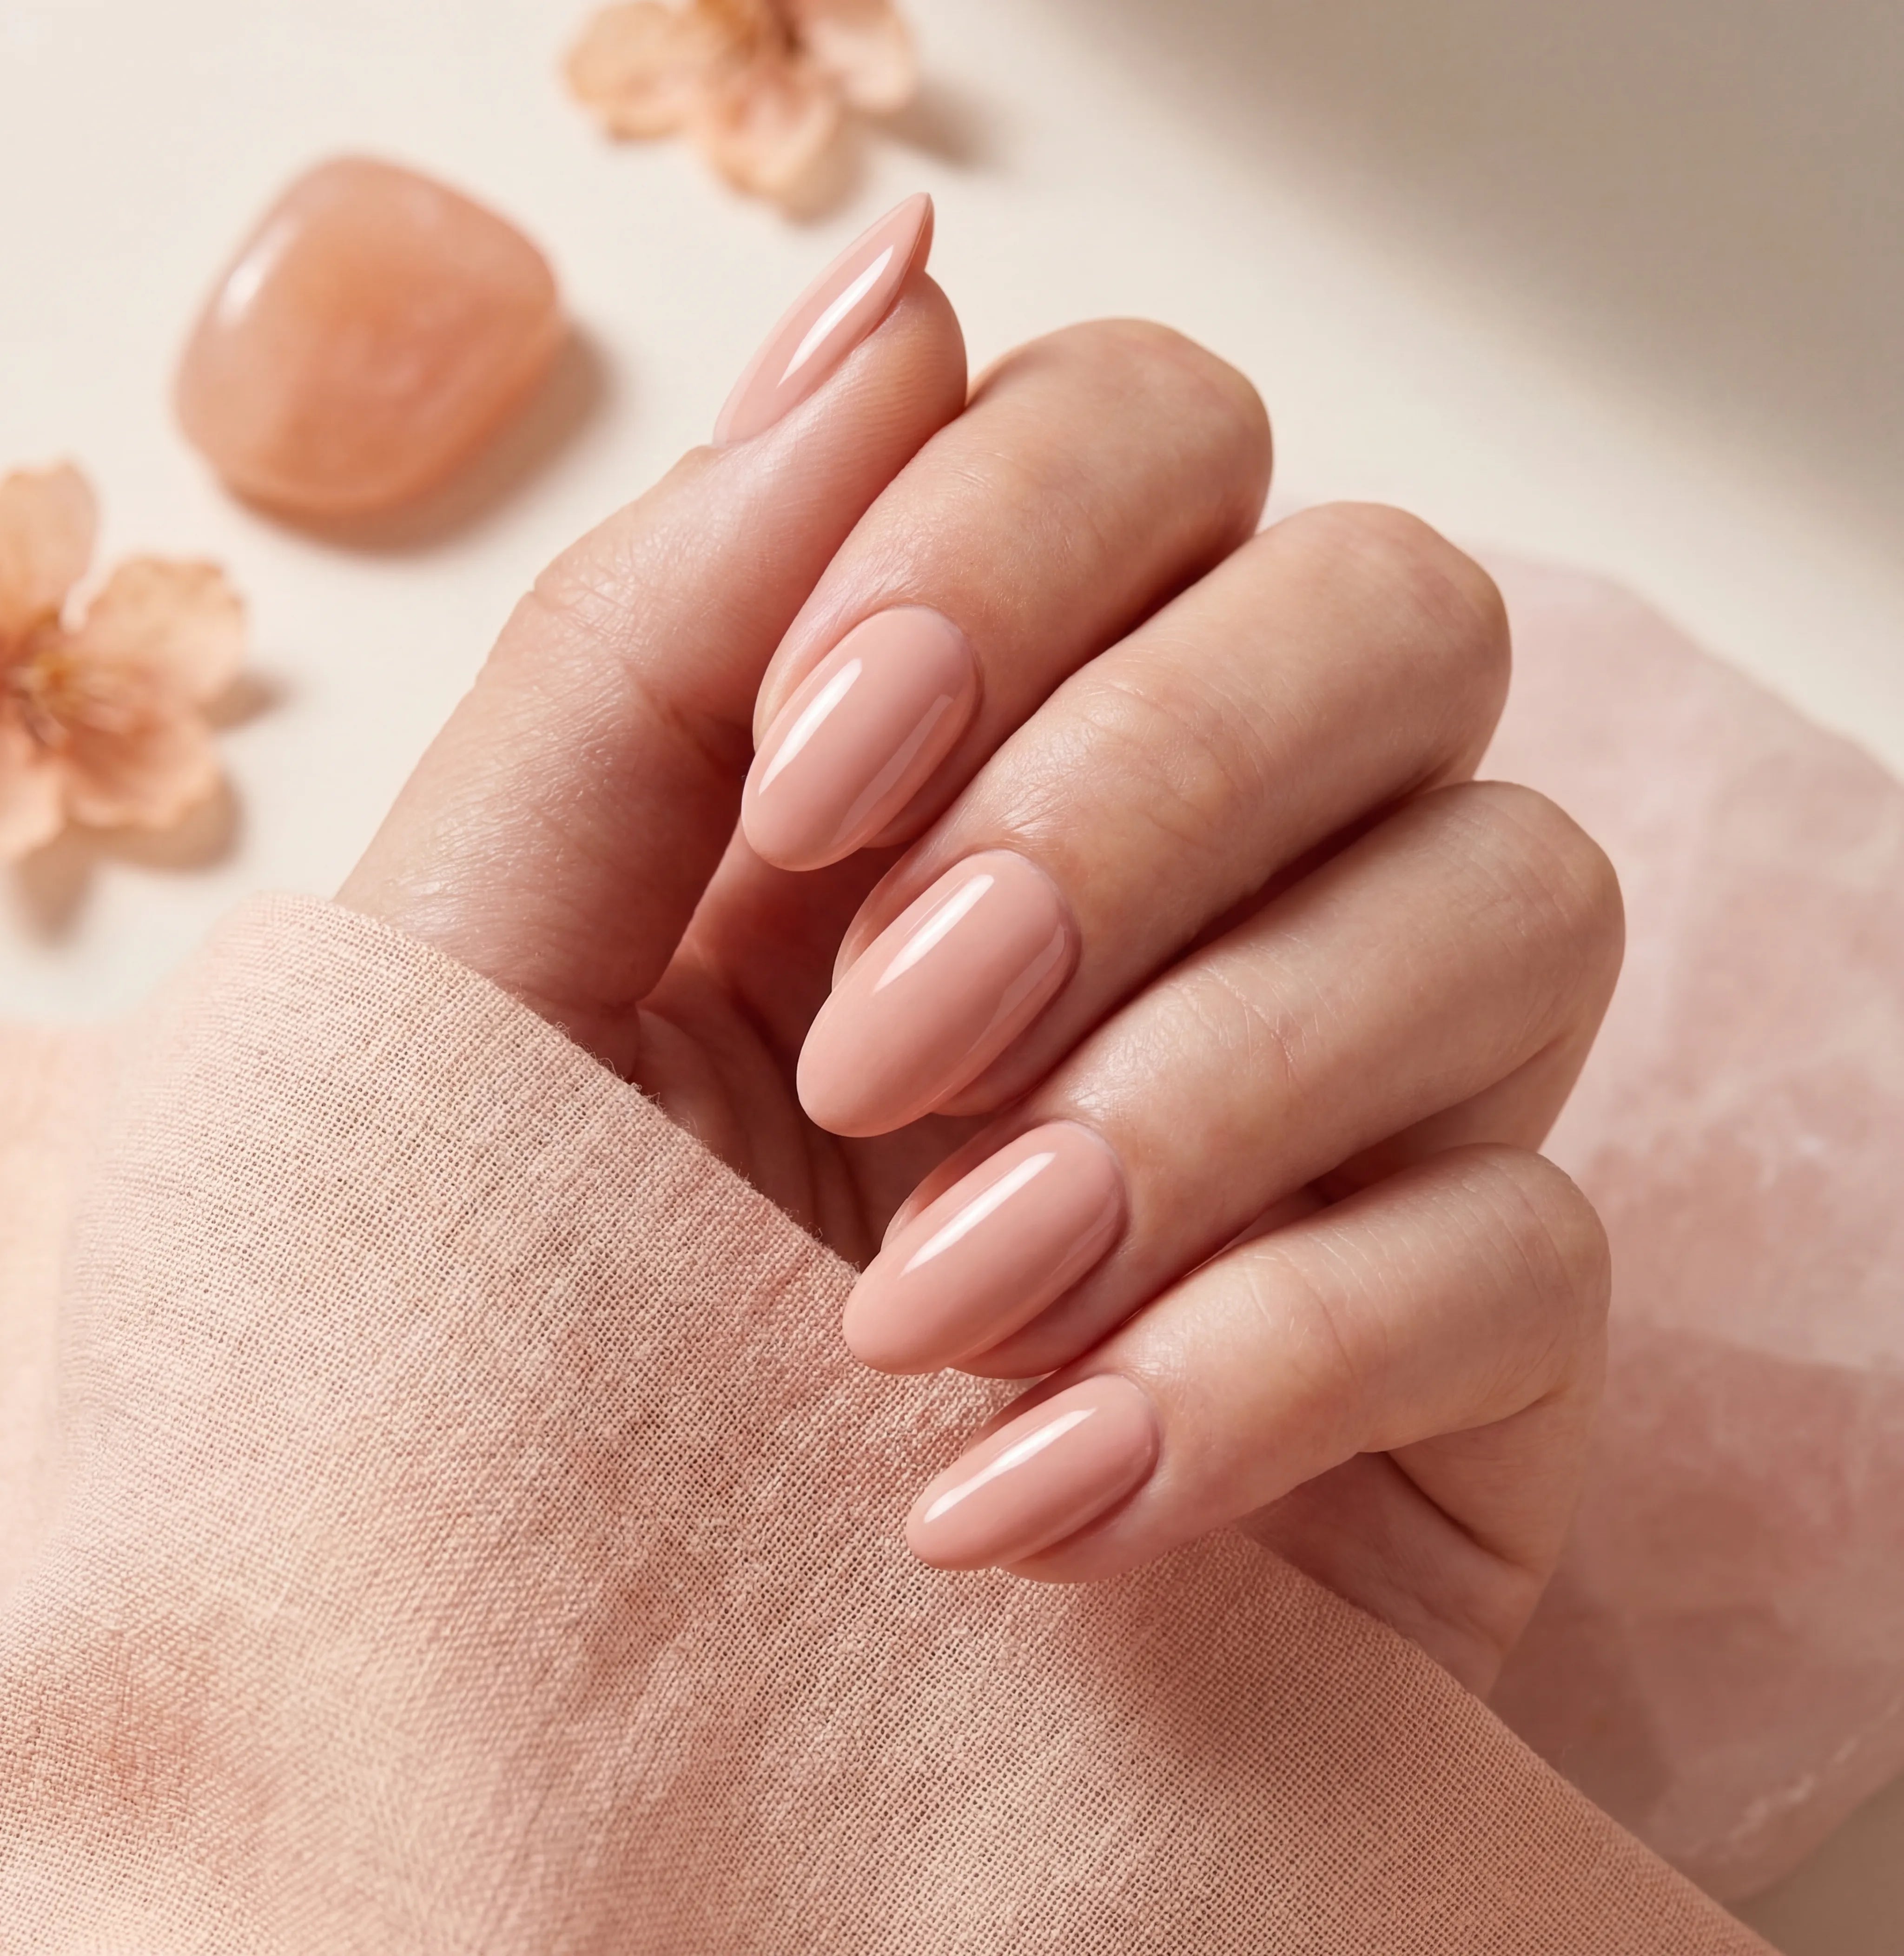
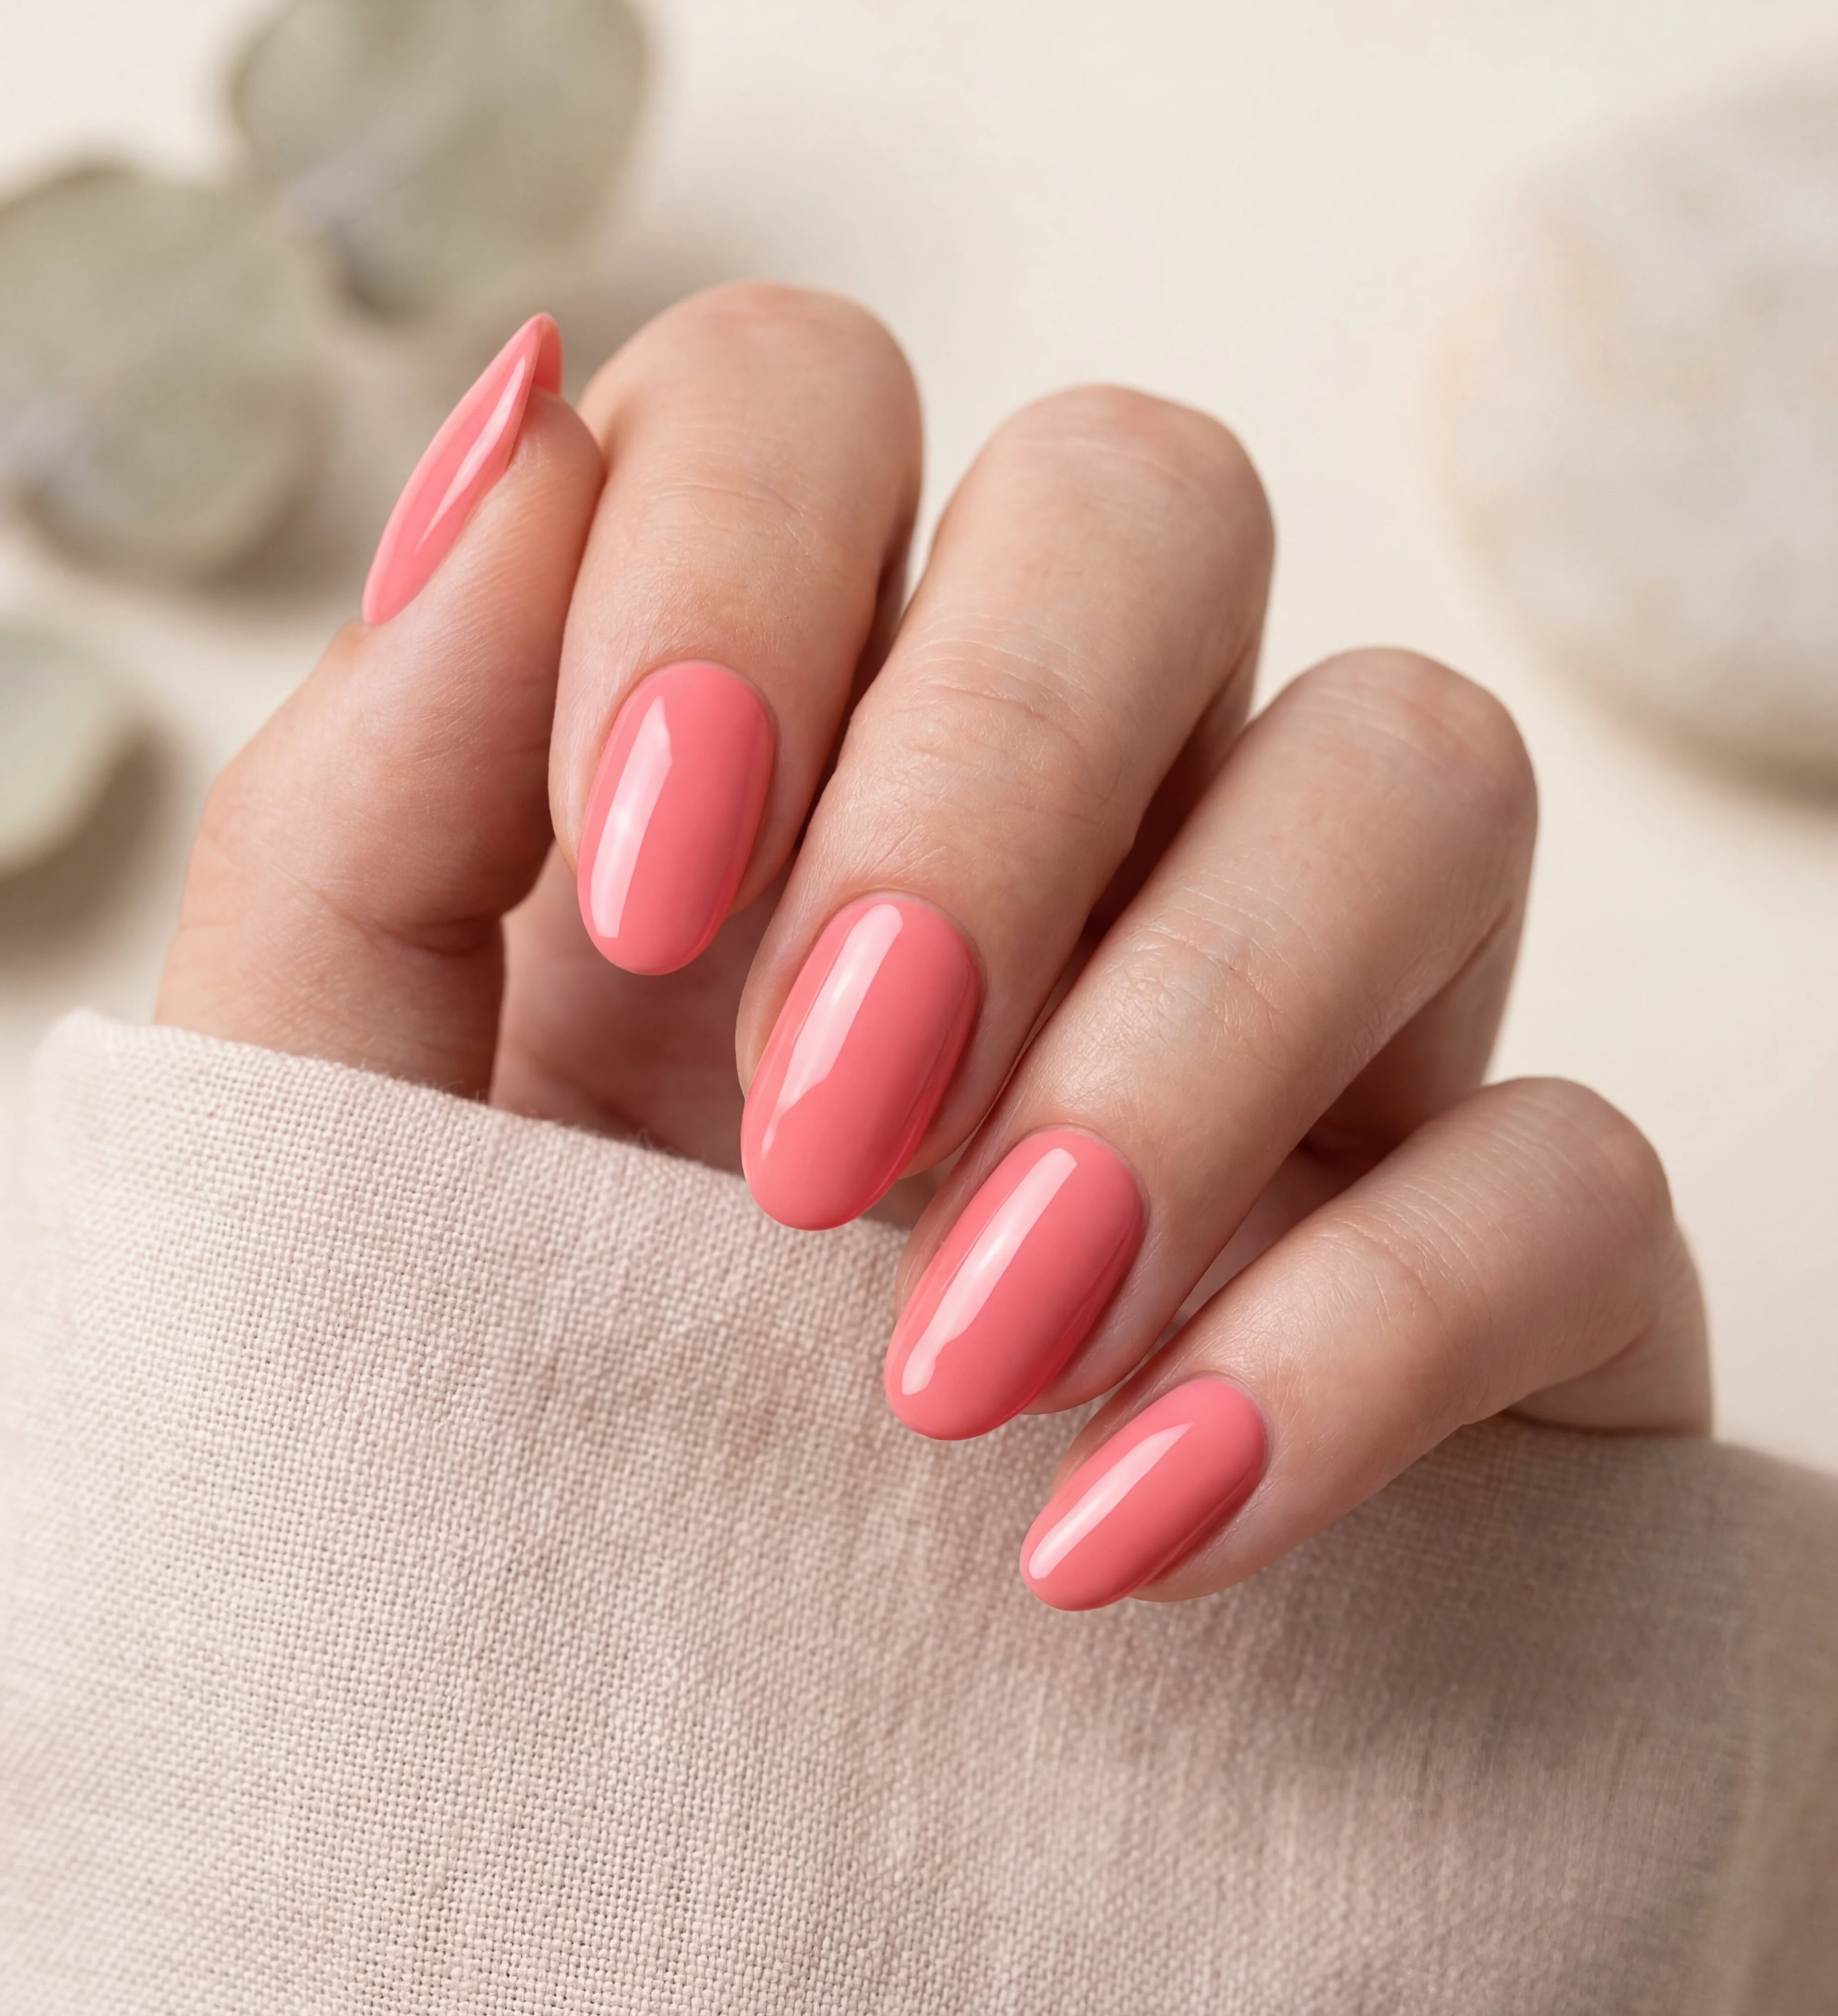
Gel polish has become essential for those wanting a long-lasting, resilient manicure without frequent salon visits. It’s ideal for those seeking a durable, glossy manicure that can last up to three weeks without chipping. Compared to regular polish, gel polish is more resistant to wear, maintains a vibrant shine, and dries instantly under an LED or UV lamp.
What You Need for Applying Gel Polish at Home
Before you start, make sure you have everything ready. Here’s a list of the tools and products you'll need:
- Nail file – Shapes your nails and creates a smooth surface.
- Buffing block – Removes natural nail shine for better adhesion.
- Cleaner or isopropyl alcohol – Degreases your nails before application.
- Base coat – Essential for protecting the nail and ensuring better polish adhesion.
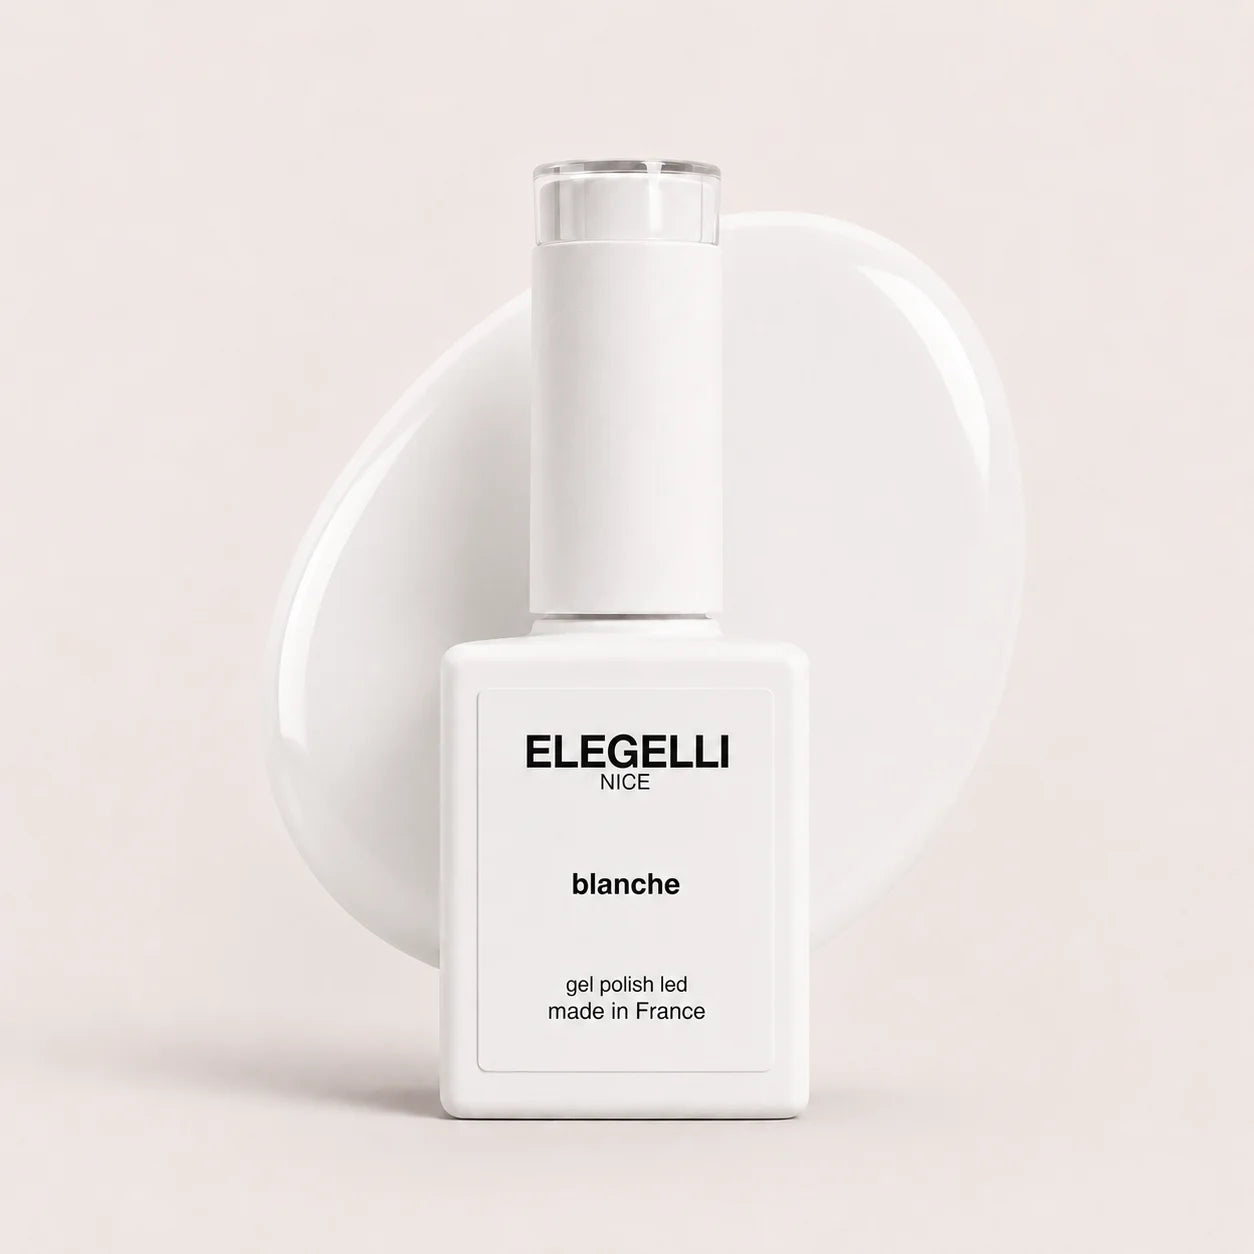
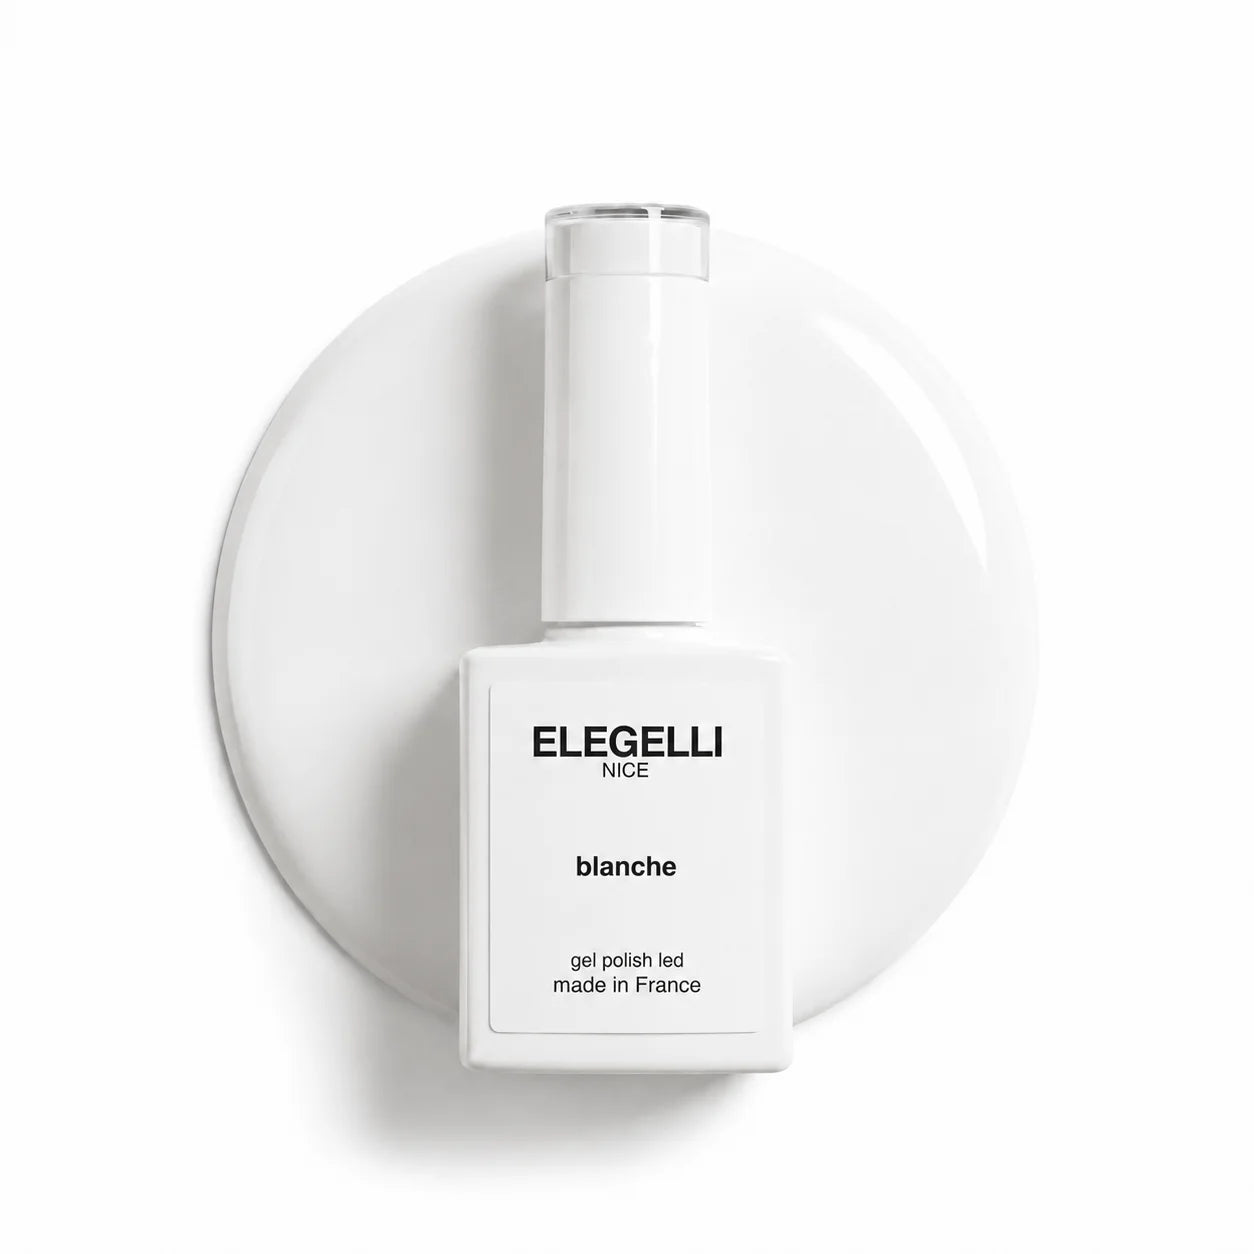
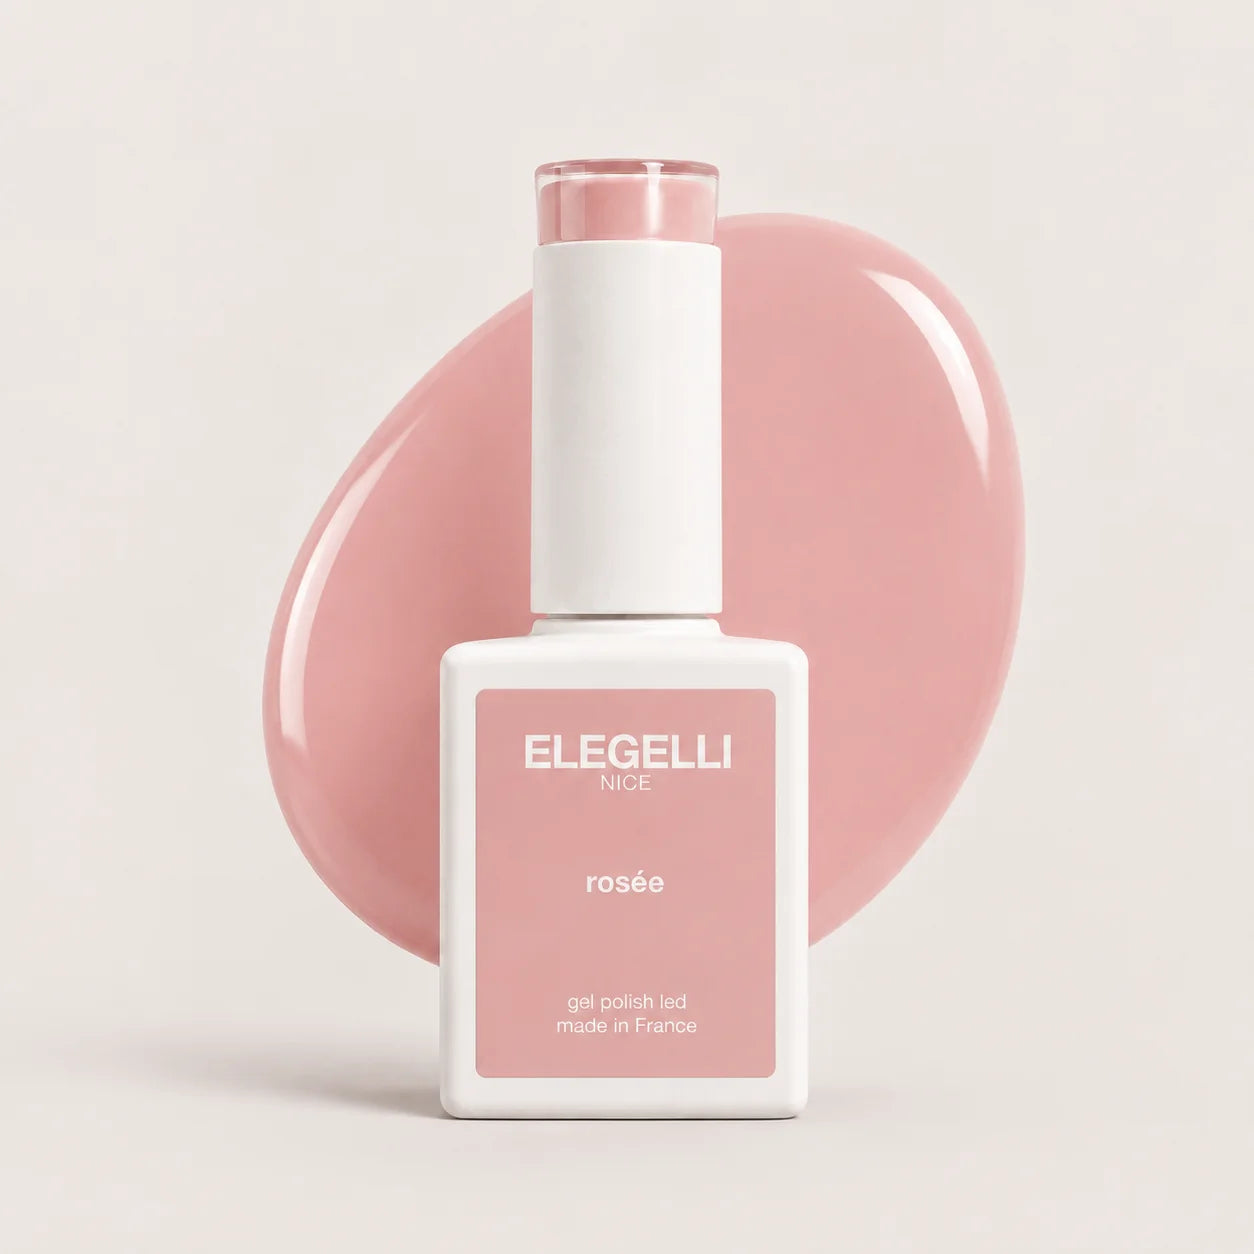
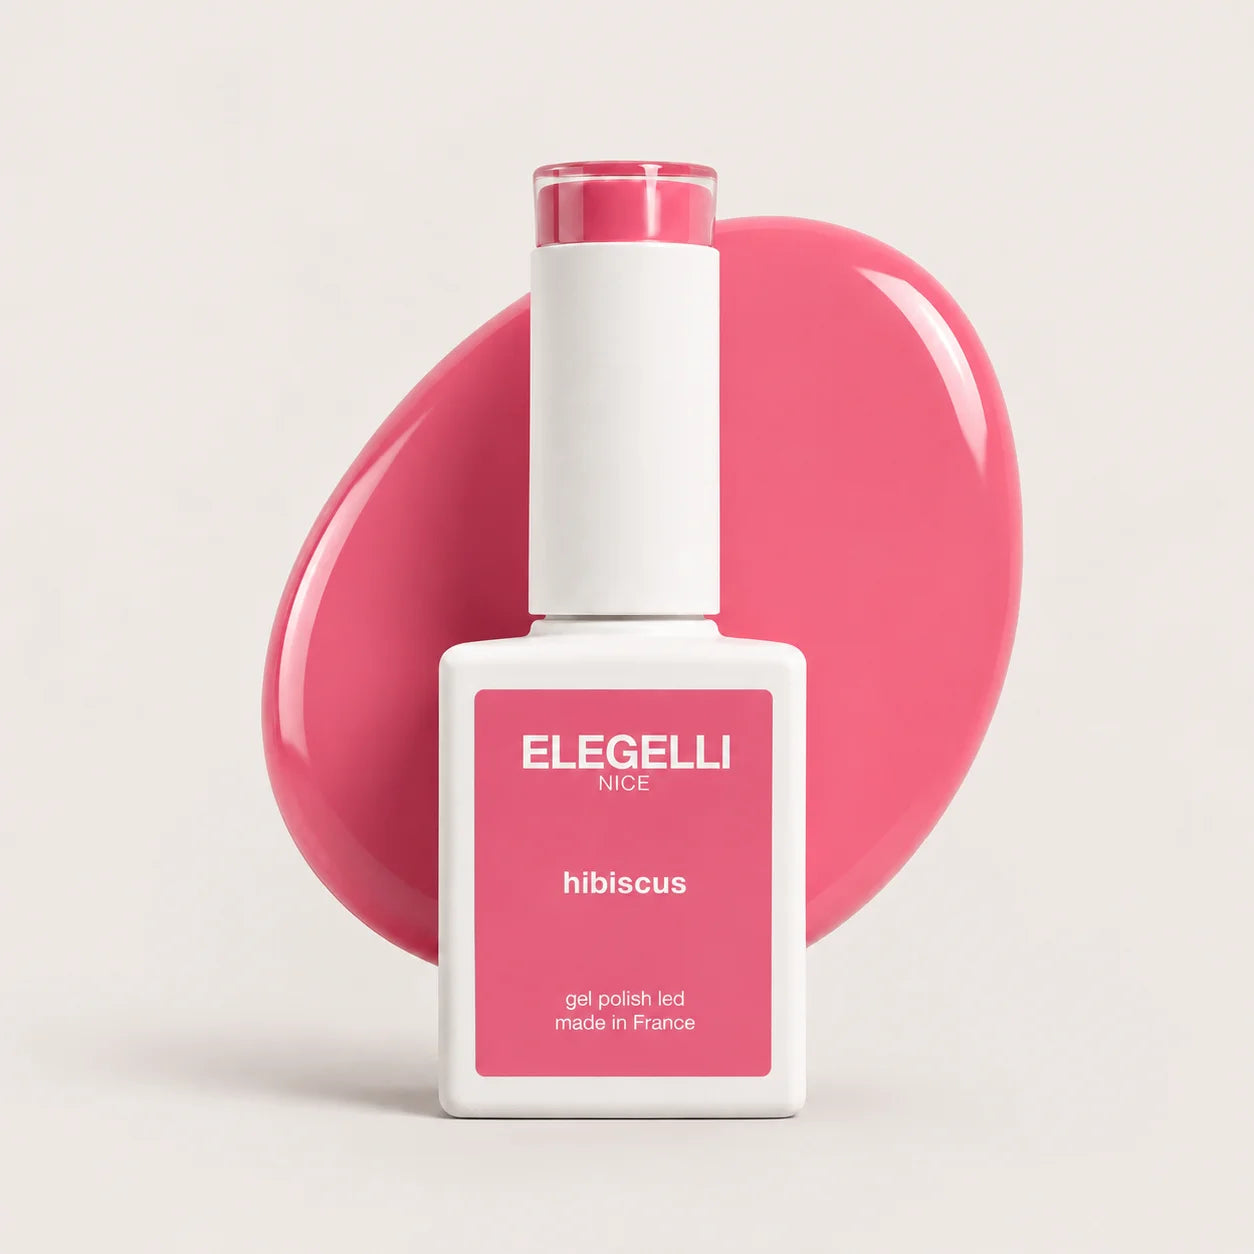
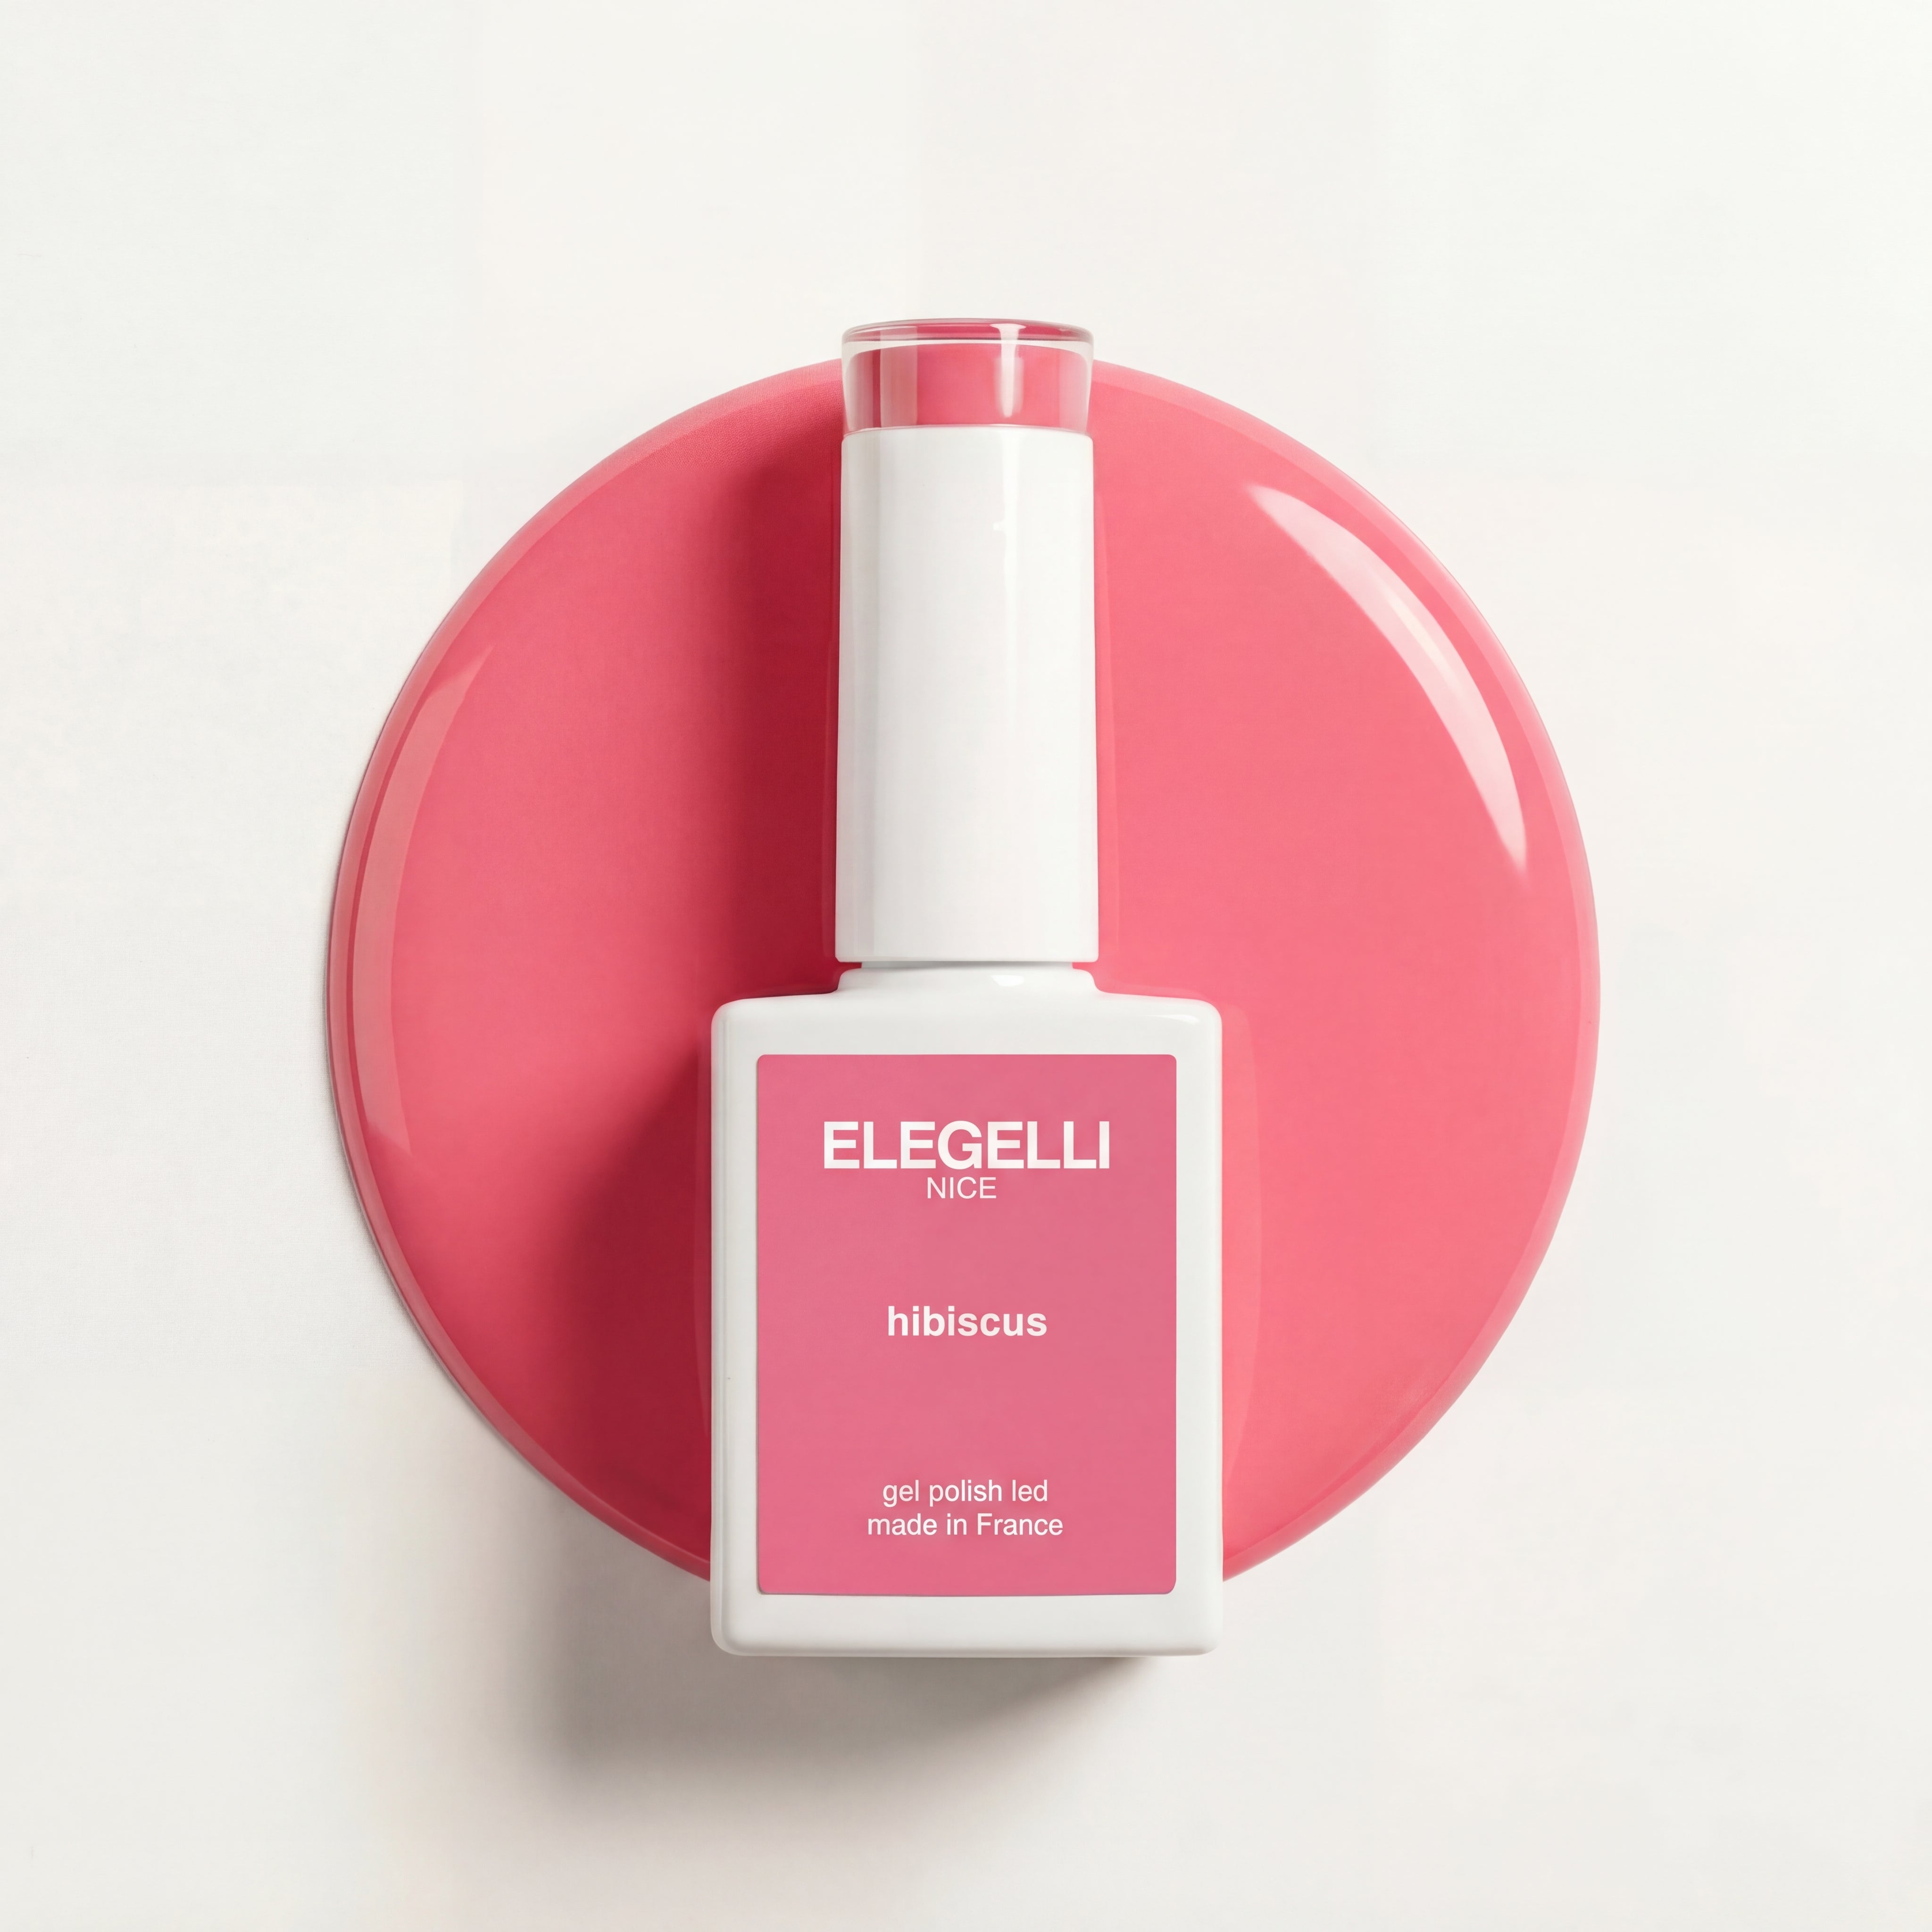
- Gel polish in your color choice – Choose high-quality polish for the best results.
- Top coat – Seals the color and adds intense shine.
- LED or UV lamp – Required to cure each layer of polish.
- Cuticle oil – Nourishes the cuticles after your manicure.
Steps for Applying Gel Polish at Home
1. Prepare Your Nails
- File your nails to your desired shape (square, rounded, etc.).
- Gently push back your cuticles with a wooden stick to clear the nail surface.
- Lightly buff your nails with a buffing block to remove any natural shine.
- Clean your nails with a cleaner or isopropyl alcohol to remove any dust and grease.
2. Apply the Base Coat
- Apply a thin layer of base coat to each nail, avoiding the cuticles and skin.
- Cure under the LED/UV lamp for 30 to 60 seconds, according to your lamp’s instructions.
3. Apply Gel Polish
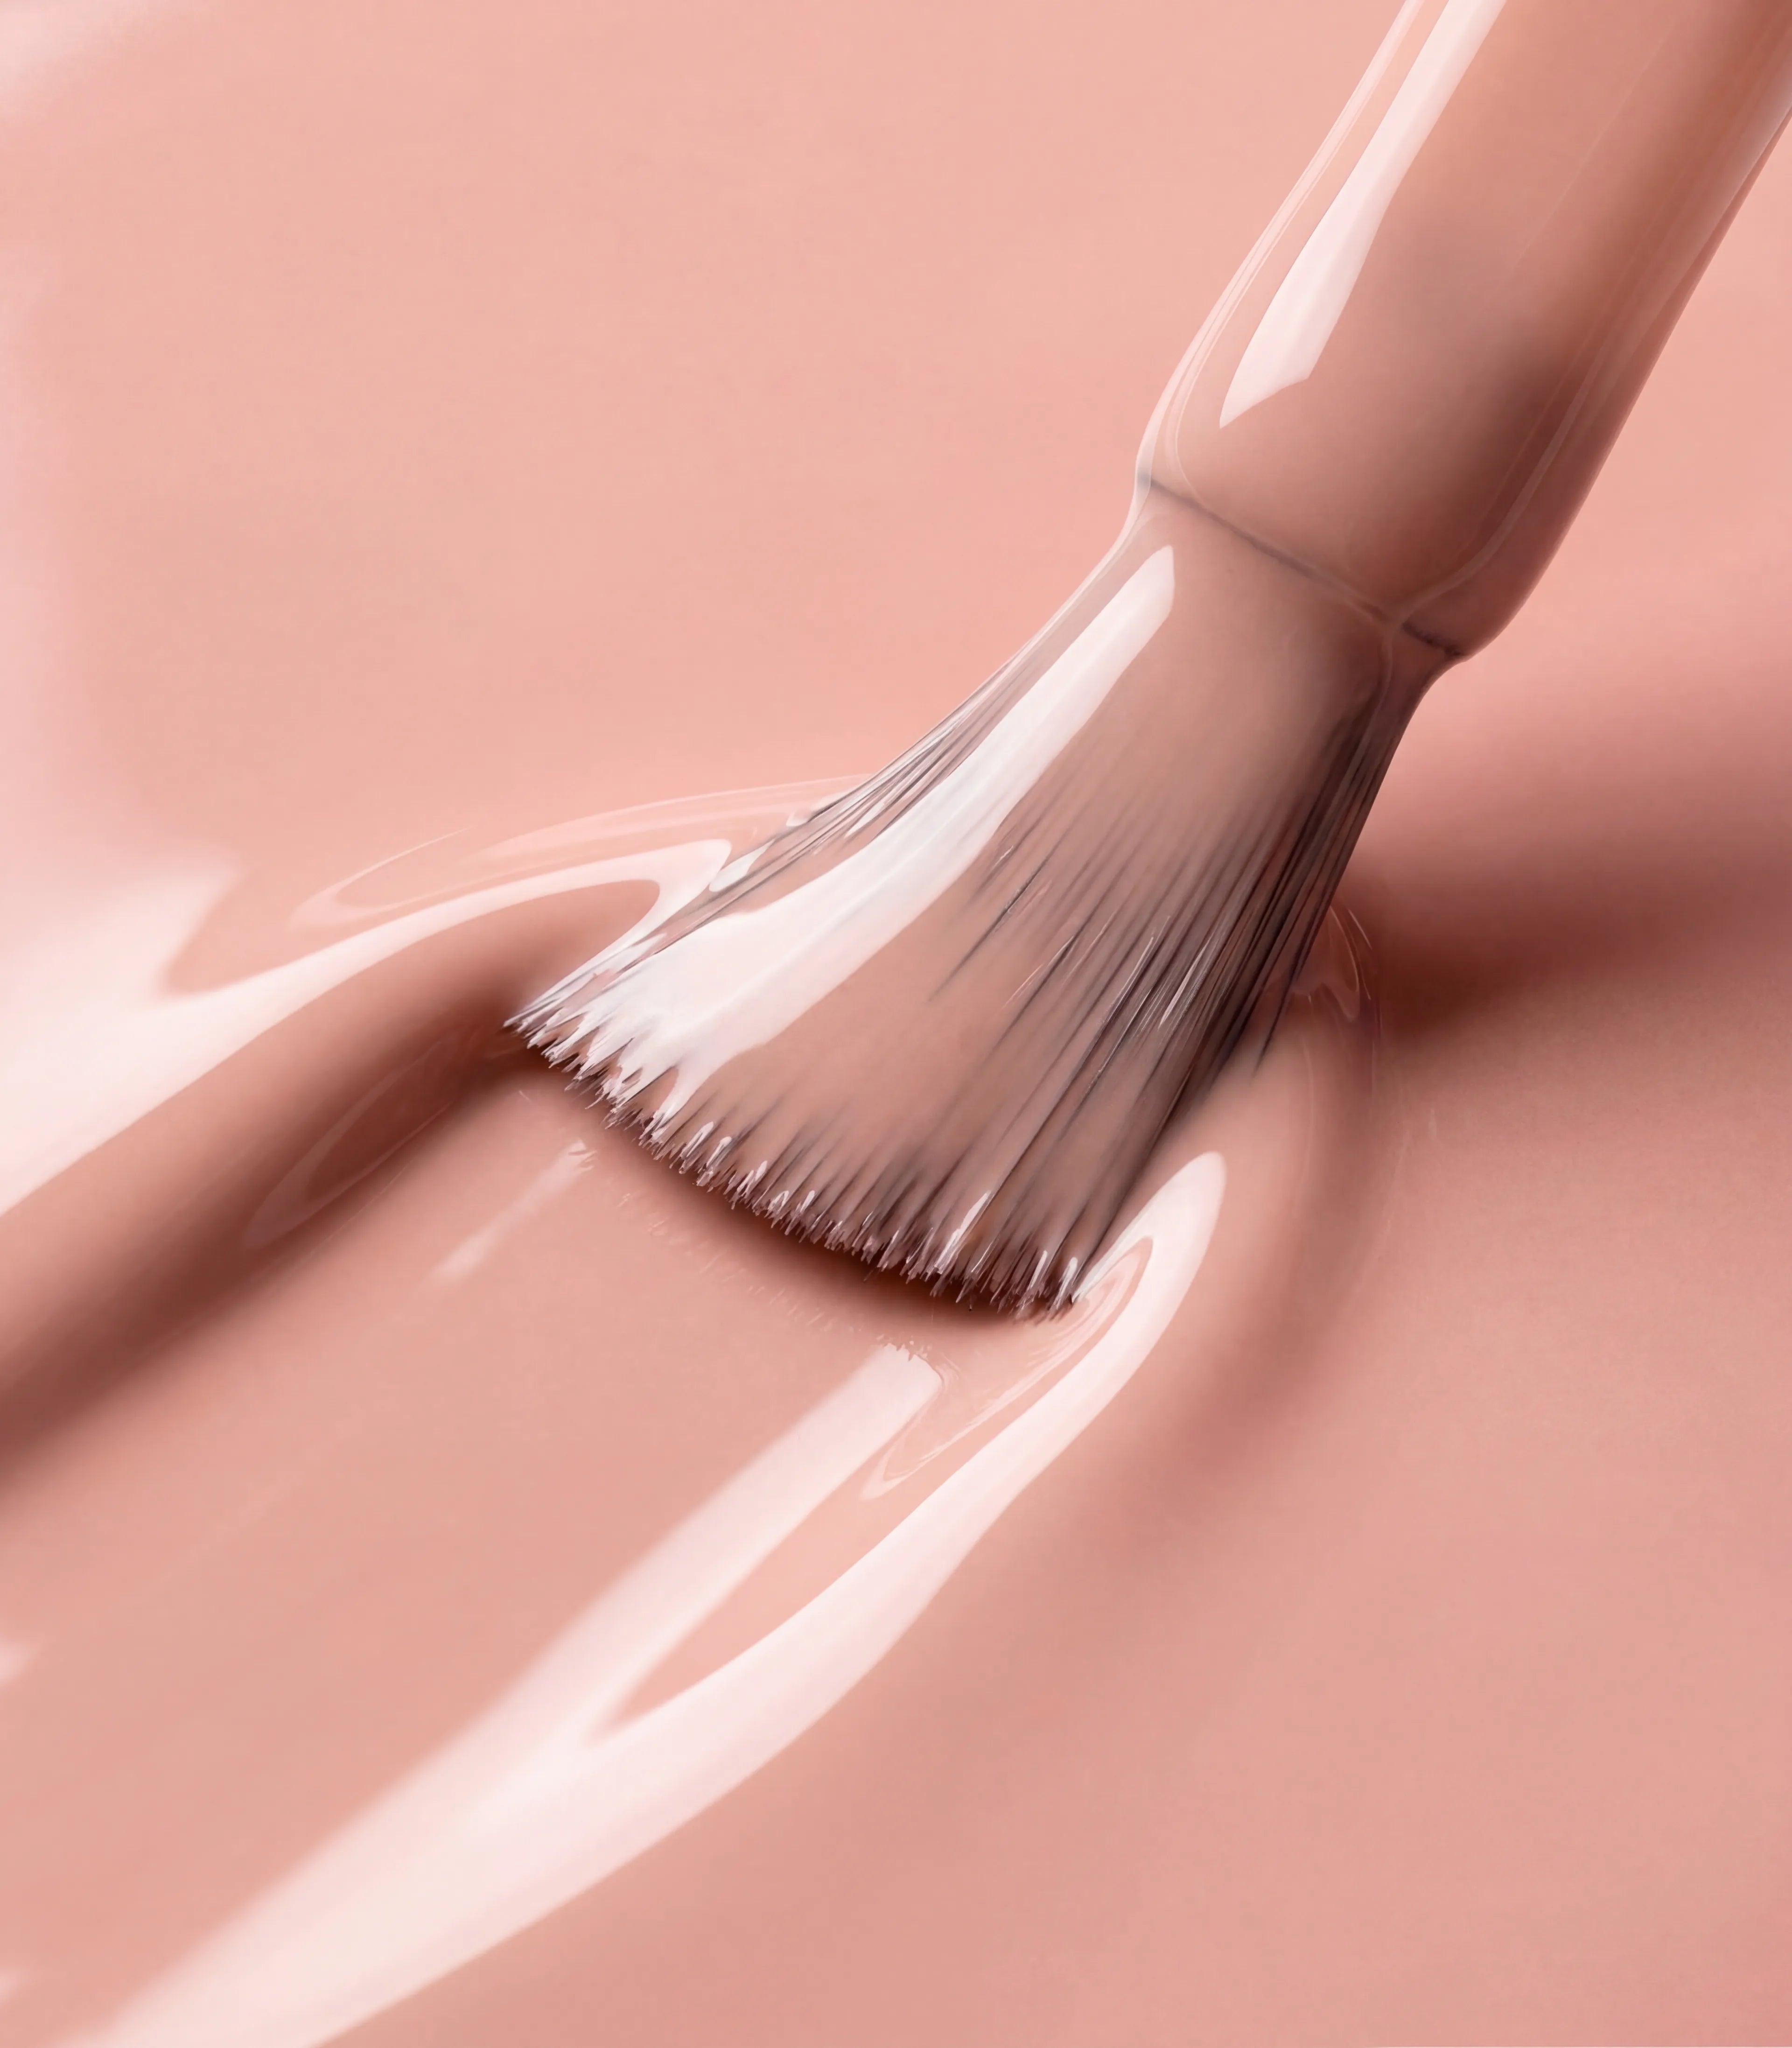
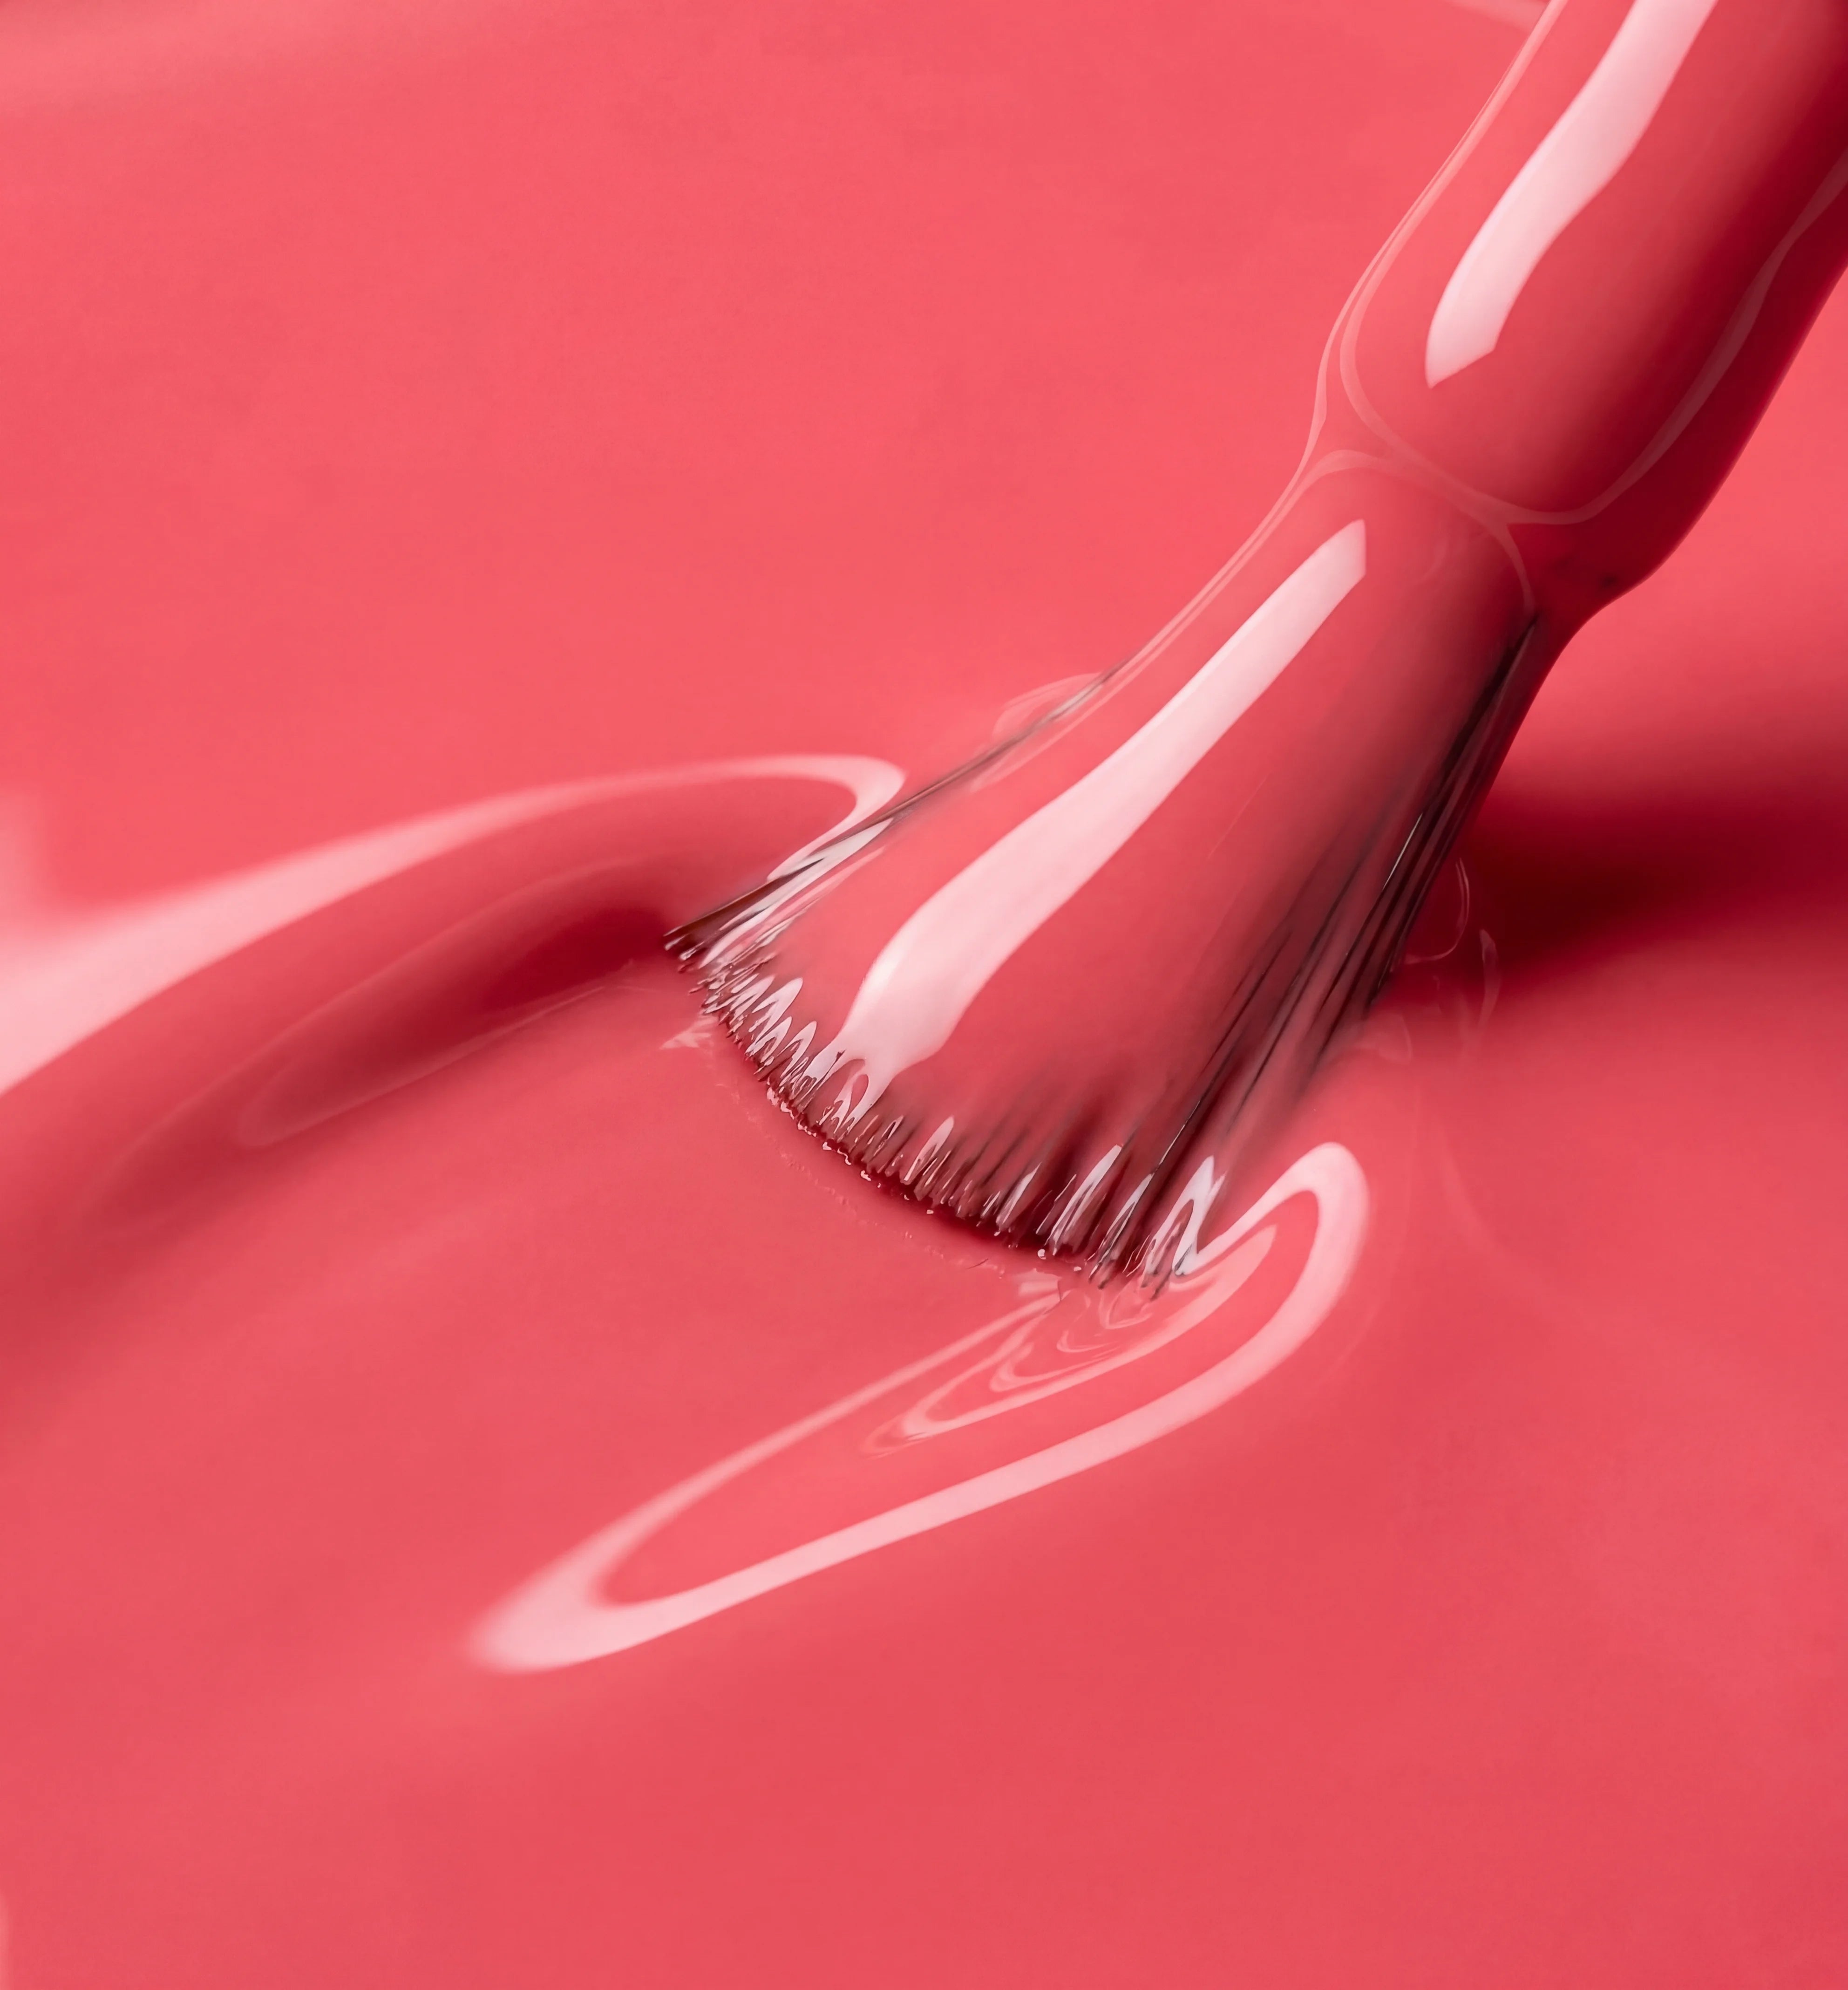
- Apply a thin layer of your chosen gel polish color. Using less product helps prevent spills.
- Cure under the lamp for 30 to 60 seconds.
- Apply a second thin layer of polish for a more intense color.
- Cure again under the lamp.
4. Apply the Top Coat
- Apply a top coat layer to seal the color and add shine.
- Cure under the lamp one final time for 60 seconds.
- If your top coat feels slightly sticky after curing, use a cleaner to remove the residual layer.
5. Hydrate and Care for Your Cuticles
Apply nourishing cuticle oil to hydrate and give a polished look to your manicure.
Tips for Beginners
- Work in thin layers: Applying too much polish can lead to bubbling or incomplete drying.
- Avoid touching the cuticles: If the polish touches the skin or cuticles, remove it before curing to prevent peeling.
- Invest in a quality LED/UV lamp: A good lamp ensures a lasting manicure and optimal drying.
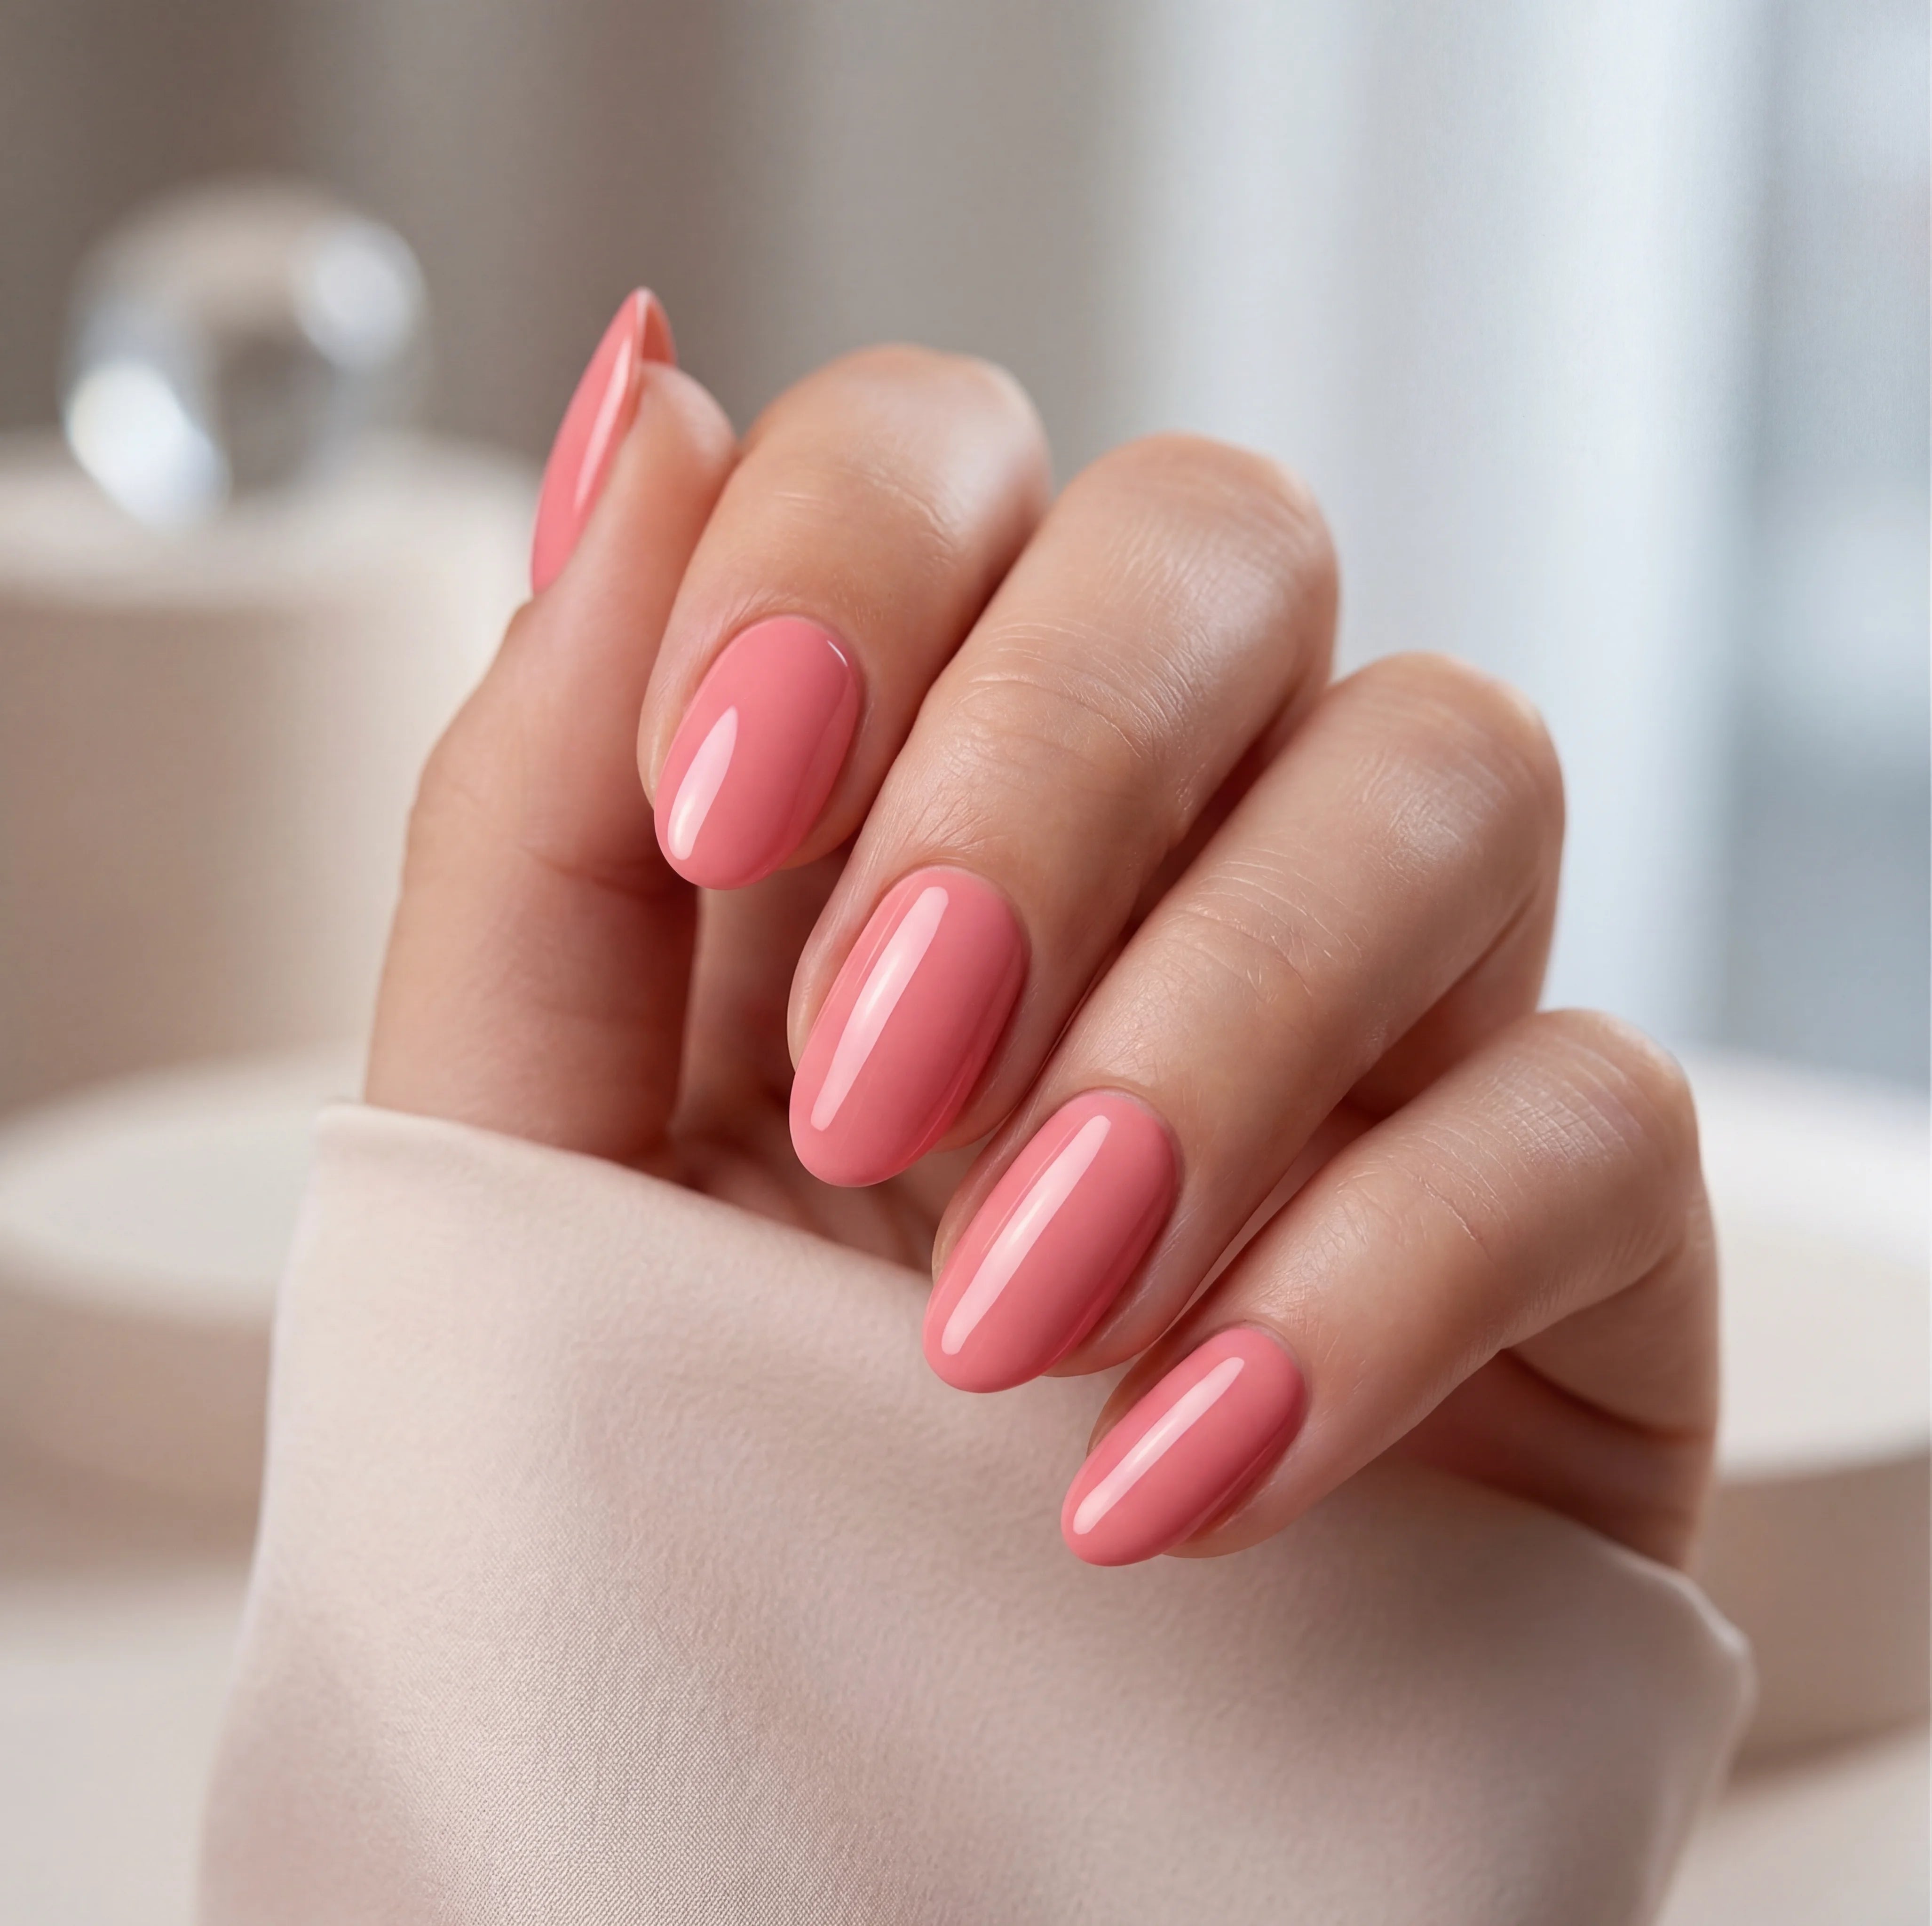
Conclusion
With this guide, even beginners can achieve professional results with gel polish at home. With a bit of practice, you’ll enjoy flawless manicures that last for weeks. Don’t forget to use high-quality gel polish for even more spectacular and long-lasting results!